Shooting a clothing range
Although my days of shooting thousands of items of clothes are in the past, I still recall the panic of getting 20 boxes of wrapped, unpressed garments of all shapes and sizes at 2pm on a friday afternoon, with a request that they be returned to the source the following morning. That meant destroying somebody’s weekend plans by ringing them with a request to get in to work as quickly as possible, preparing the studio for the coming onslaught, creating three workspaces with lights, camera equipment, scrims, diffusers, overhead soft boxes, & giant parabolic reflectors. The scoop would need quickly painted, greyboards positioned, and adequate styling space made available. Twenty mannequins were spruced up and repaired, coffee bought, pizza place put on standby, Macs rebooted, batteries charged, and wife & children advised of my absence for the next couple of days. This was the reality of fashion photography at the sharp end. Here are some of the essential tools:


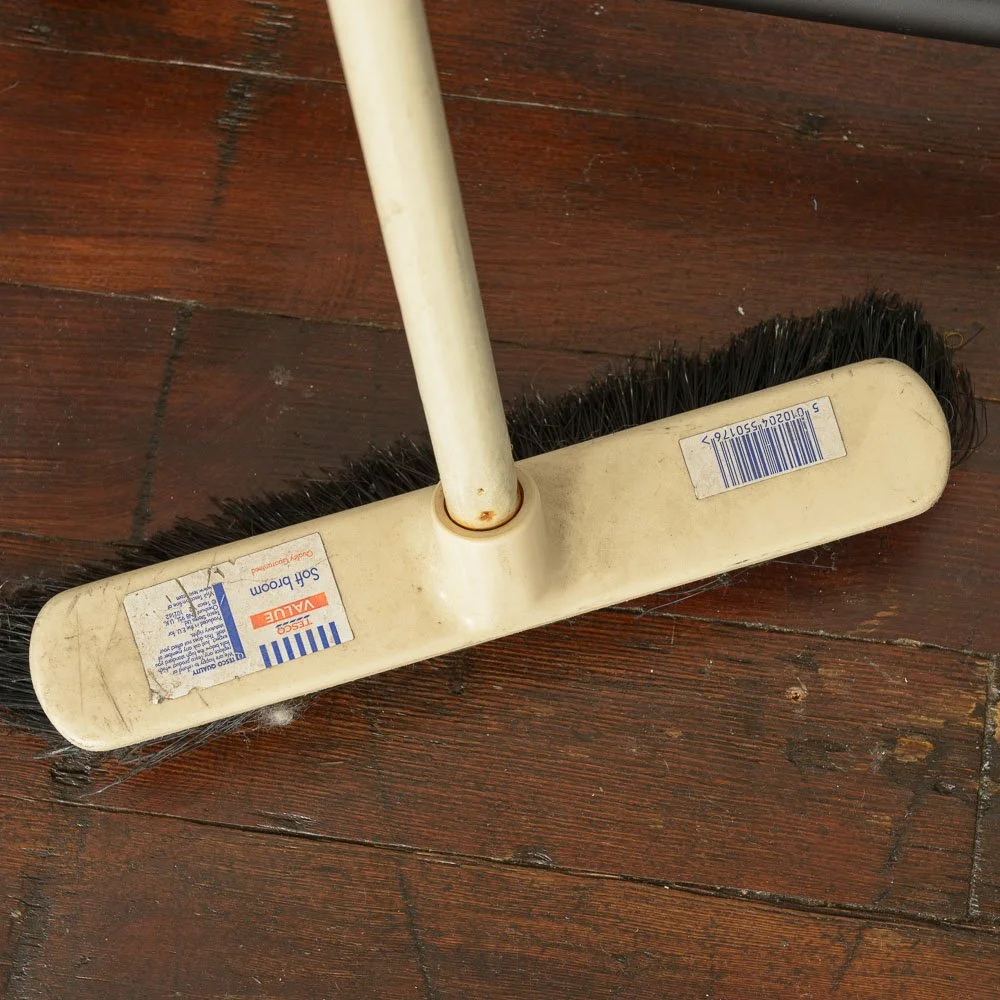
A cheap brush. Every time you open a knitwear wrapper or shirt packet, fabric dust and threads are scattered all over the place. Clips, collar supports, elastic band, backing cardboard, labels, stickers and sellotape drop to the floor. Multiply it by 200, and you have a workplace hazard – in terms of combustible material, breathing hazards, and the possibility of tripping/slipping on stuff. Keeping your studio floor clear of stuff is of the utmost importance, and the brush is the most important tool in the studio at times. Mine was a Tesco Basics old boy. Job done for £4.
Bits and Bobs. Here we have invisible twine for hanging bags on sets, holding arms up, and loads of styling techniques. You can use normal thread, but this is 100 times stronger, and is retouched out easily. It’s also invisible in a lot of cases. Tape measure for measuring stuff like wire, distance on sets to maintain consistent placement of products, yellow dot stickers to identify stuff that has been shot already, hooks for hanging heavier items, garden wire for creating bendy arms & lining clothes so that they can be shaped properly. Scissors, and craft knife for obvious cutting duties.
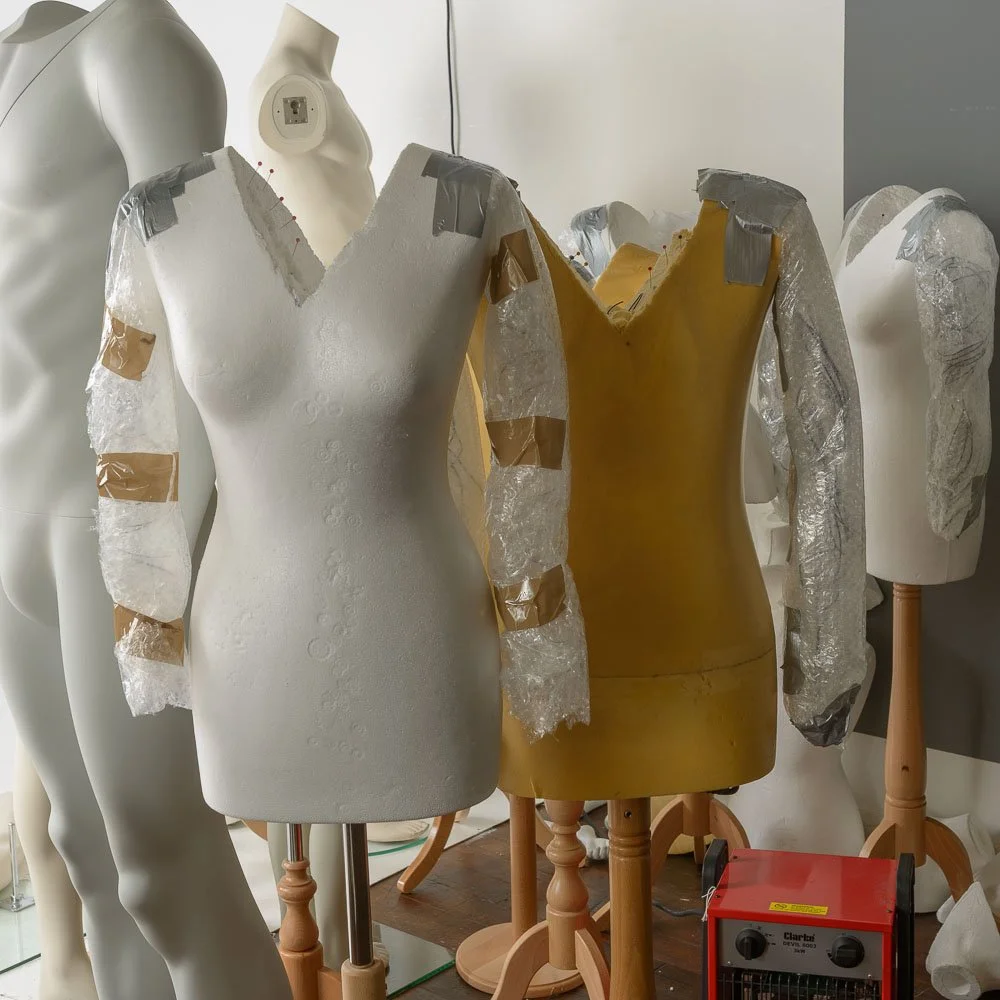
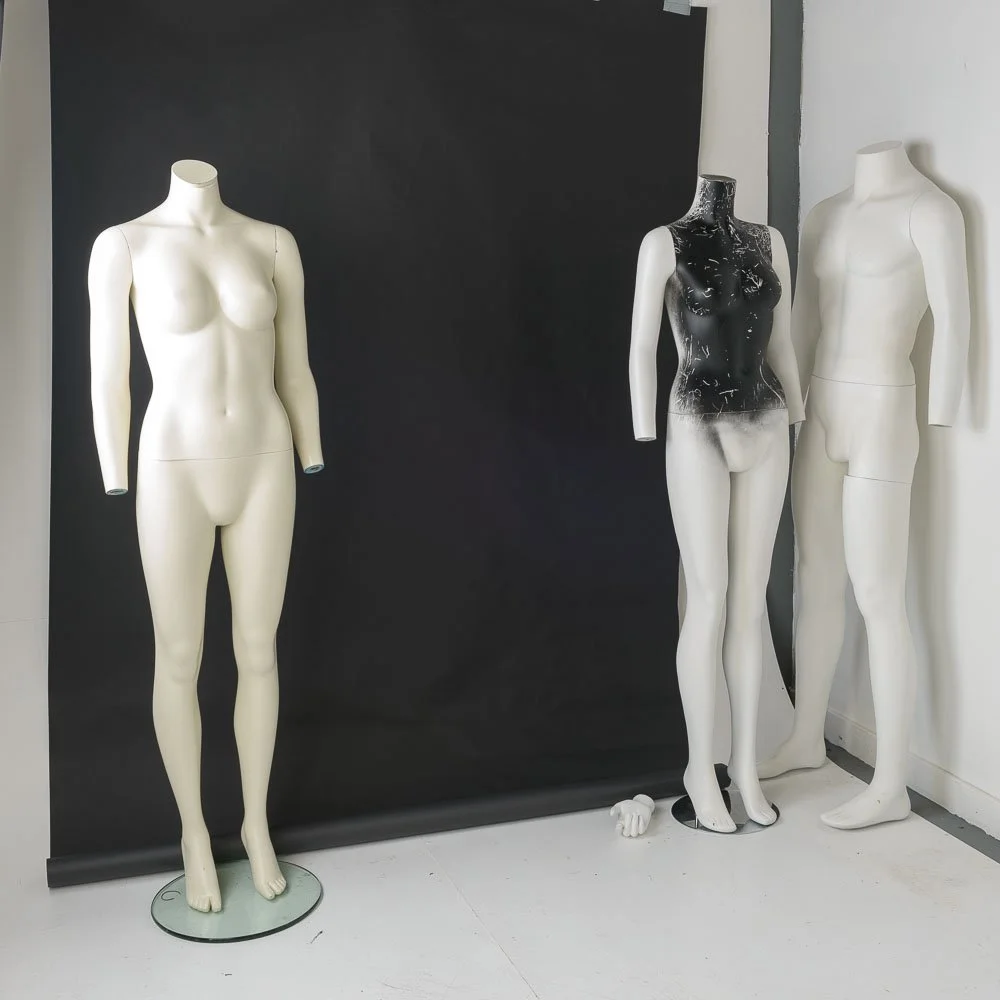
A selection of solid mannequins. Male and female of different sizes, all perfectly straight. No bent arms or stances – these were generally bought at great cost via specialist retail suppliers. They went through some rough treatment. The size 8 ladies here is painted black so that there was minimal reflection from the chest area when shooting the thinner garments. I also used a very expensive mannequin with a removable neck area to do away with adding the neck interior section by retouching.
Bubble wrap. Huge amounts of bubble wrap in fact. I’ve still got half a mile of the stuff in my coalshed. This was used for everything – making flexible arms for dummies around a wire framework, stuffing into clothes to add contours, filling out boots, making wavy surfaces to put fabric samples on, diffusing light on sets, and even for making a surface on which to have a nap in the middle of the night when sleep was needed. Indispensable.
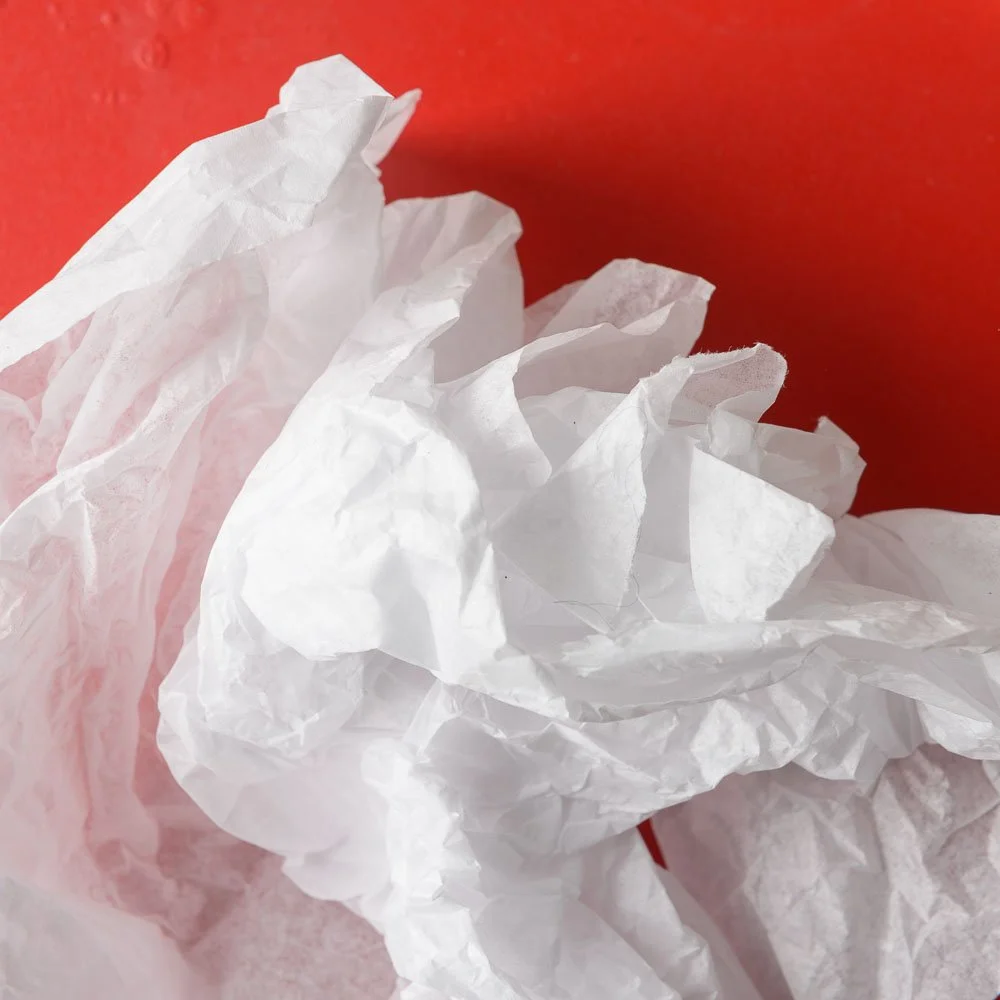
Tissue. The stylists essential. Reams and reams of the stuff was used to pad out clothing which needed to be shot flat on the floor. it gives body to flat clothes, fills out arms, and can be utilised for all sorts of stuff. Another essential.
Clips. Big ones, little ones, crocodiles, G-clamps, electrical clips, clamps, bulldogs of all sizes, paper clips. There is no end of the potential uses of these things. They are the mainstay of a product studio, and you can’t have enough. they hold backing paper in place, attach reflectors or scrims to light stands, turn a size 12 jumper into a size 10 by pinching in waists and shoulders etc. the list is endless. If you set up a product studio get as many fastening devices as you can.
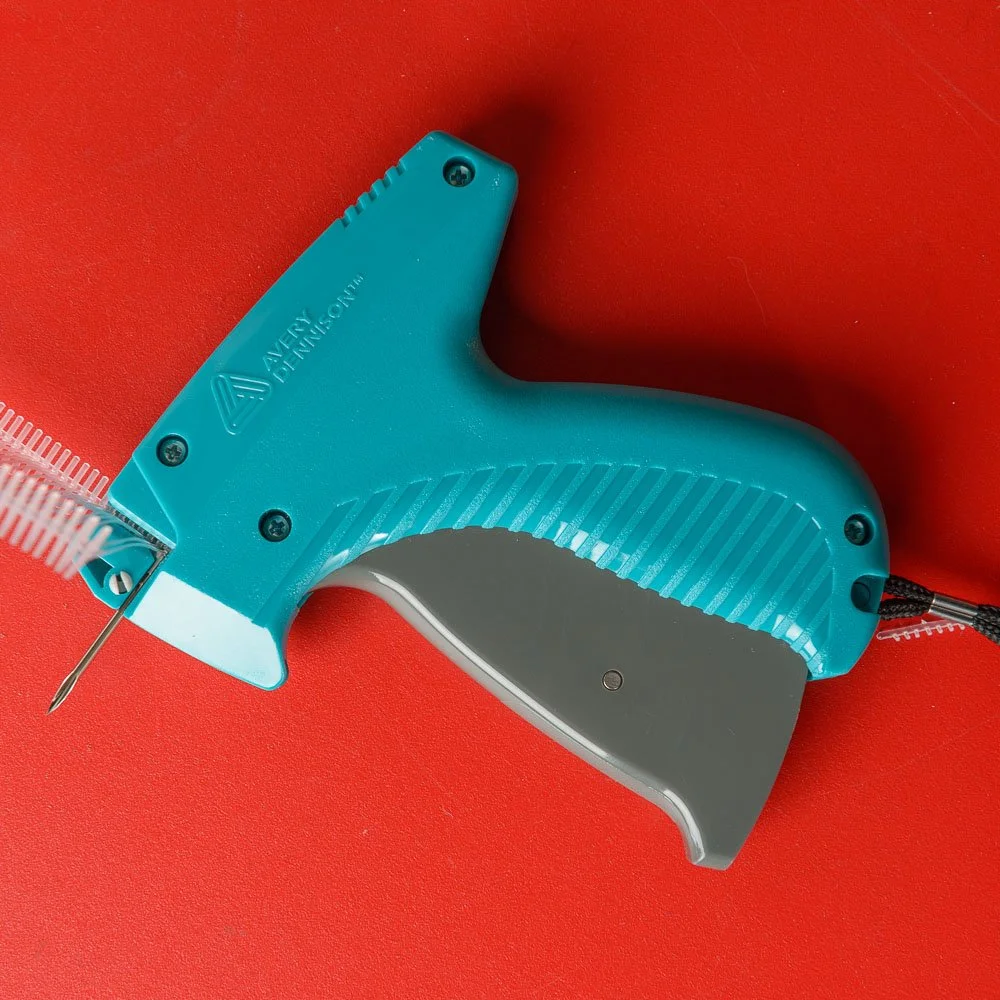
Clothes tag fastener ( aka Kimble Gun). This magic device allows you to attach labels and tags to clothes using small plastic tags called kimbles. Often, the gumph that comes with garments needs to be reattached after they’re removed for photography. A pain, but necessary. They can also be used to turn up flaps on clothes to shoot interior detail, or hold different items together when they’re hung up on a set. The needle punches a hole through whatever it’s placed against (usually the label in the collar). The aforementioned needle is the sharpest thing in the universe, and you can tell a busy clothes stylist by their distinctive perforated fingers. I pierced myself at least once a day, and the swear-words generated by the prick of this evil little idiot are born out of Hades itself. It went in the bin, as I couldn’t face selling it to some unsuspecting young lass straight out of college.
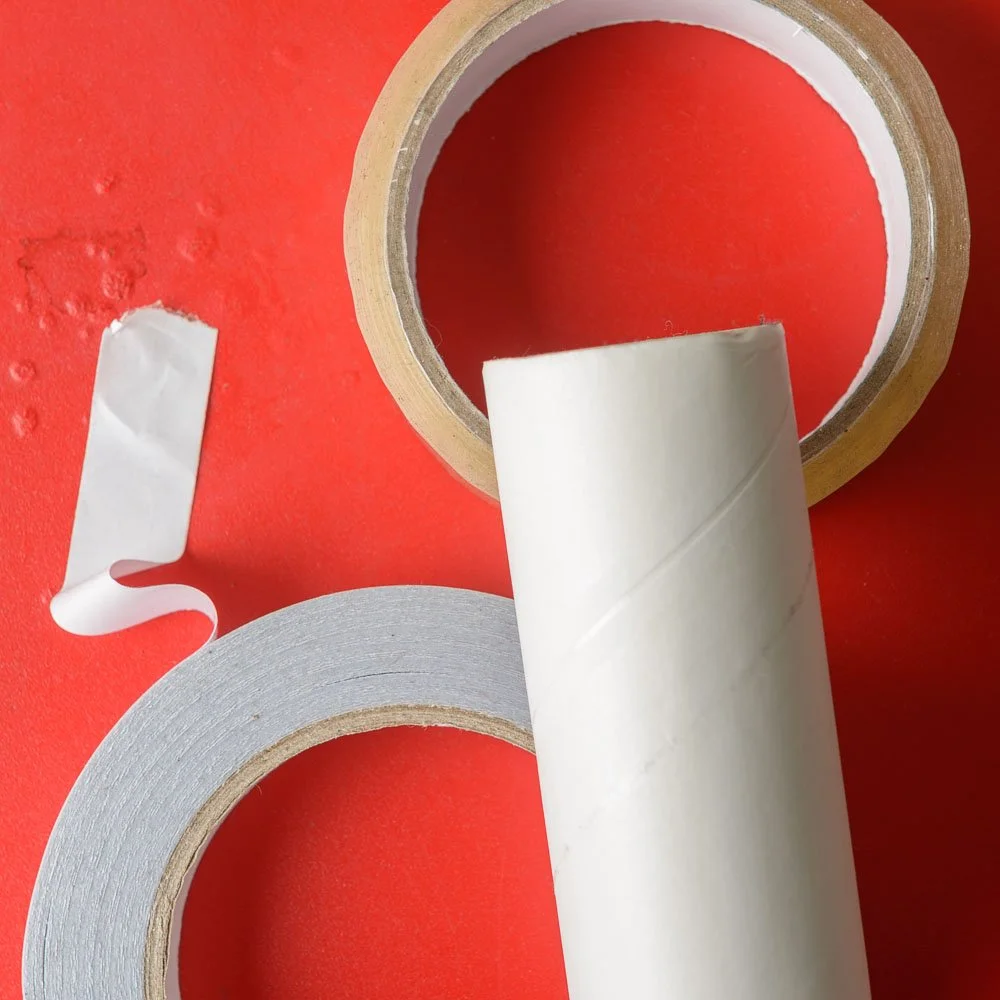
Sticky stuff. Namely double-sided tape, sellotape, and lint rollers, as well as insulation tape, packaging tape, and duct tape. Absolutely essential. each garment (especially wax and woollen garments) need a good going over with a lint roller to dispose of the detritus that they attract. It saves ages on subsequent retouching. Duct tape was used at a rate of knots – they call it 100mph tape apparently (as it can withstand the batterings of a 100mph wind), although it was still susceptible of dropping off a damp studio wall at 3am, setting the alarm off when an 8ft background paper hanging was sent crashing to the floor. Blu tac gets a mention here as well. This was used for holding bag straps together, and keeping smooth objects from rolling off an angled whiteboard.
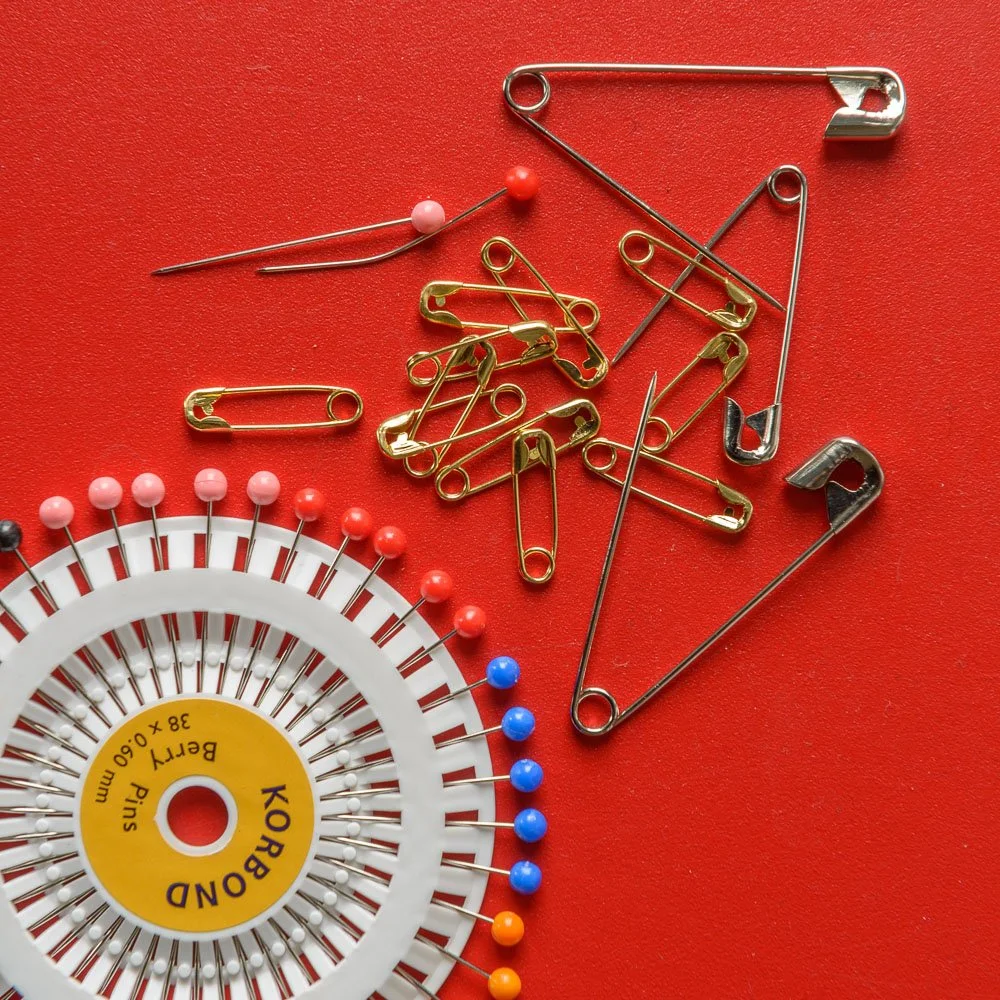
Pins. Literally thousands of the things. You run out of pins, you might as well go home. Nothing is possible without berry pins, and safety pins. They hold arms into position onto ploystyrene mannequins, they keep wayward flaps in place, and allow subtle resizing and reshaping of garments on dummies. Some wise stylists use thimbles, but the proper ones just allow their fingers to be impaled several hundred times a day.
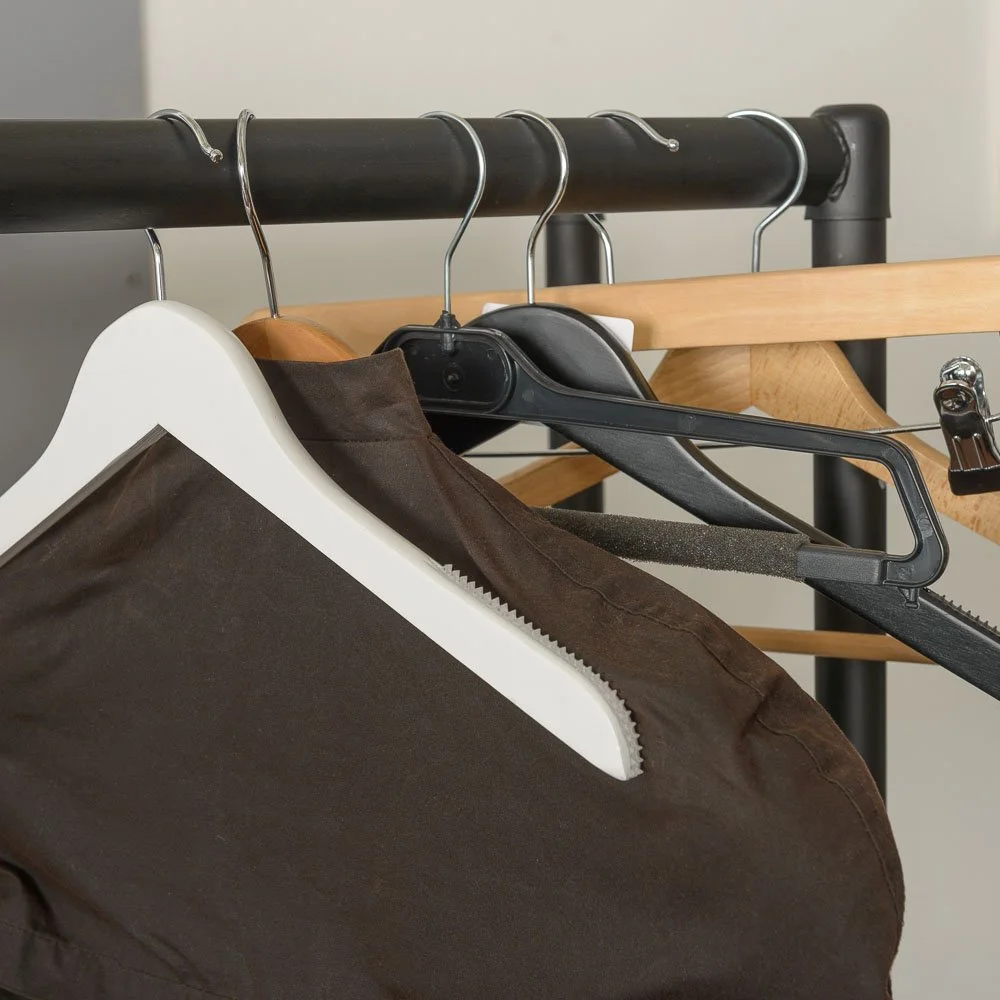
Clothes hangers. You can never over-estimate how many you’ll need. Not the crap plastic ones off Ebay either – we’re talking quality hangers of all sizes from kids to XL mens. You could easily spend a grand a month on these if you allow clients to keep them. (and they would). A hundred packets of shirts would arrive, and each of these would have to be opened, stripped of clips and pins etc, put on a hanger, steamed flat, prepped, placed on mannequin, shot, then put aside. It would be easy to let the hanger disappear with it back to the client, but you’d go bust in three months on the small margin involved in high volume clothing photography. Get them from your client in advance unless you’ve budgeted for supplying them.
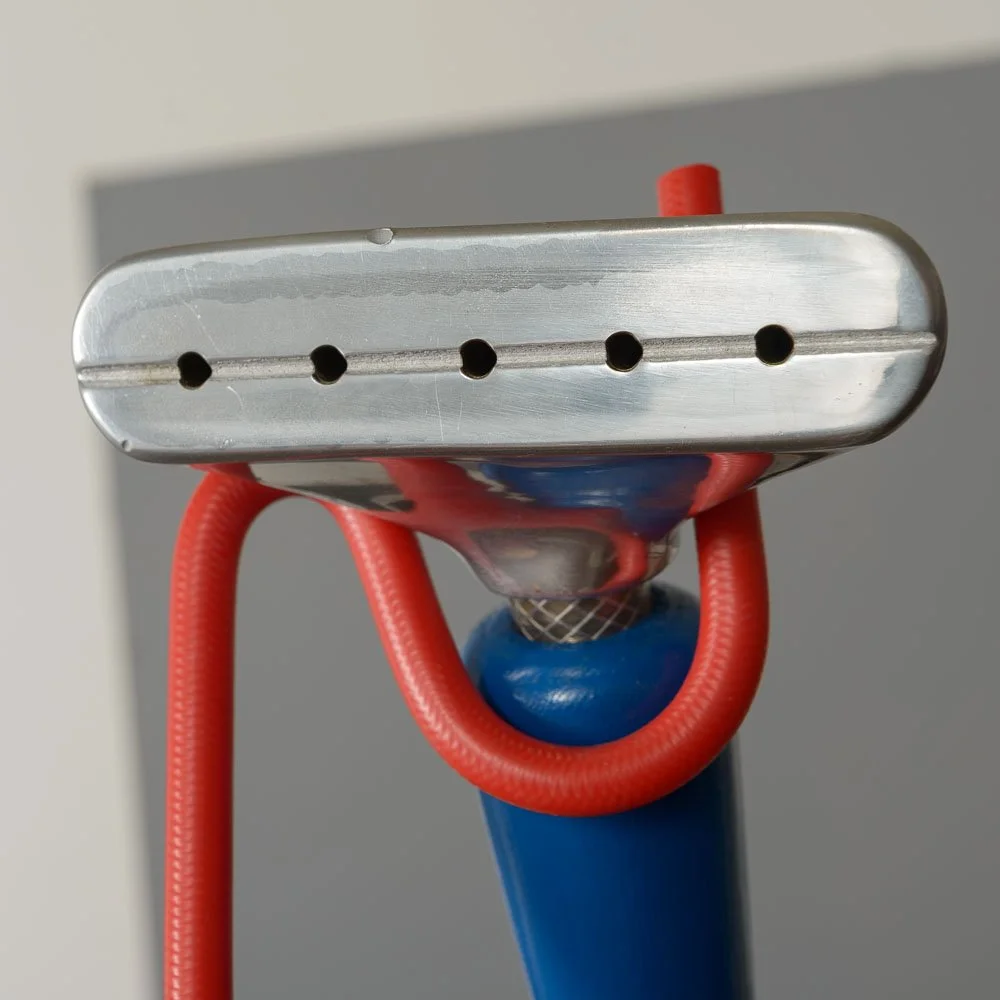
The steamer. DO NOT get a cheap model. Inexpensive Chinese plastic rubbish will let you down after a week. These things need to be solid industrial models with as much steam capacity as you can muster. This one was a 7 litre Handyman from Gerry Fried in Gateshead. It produced steam at a great rate, kept going, and just did the job without issue. You can see a small dent on the head where somebody dropped it after borrowing it when I was working on location. It didn’t matter. I had a cheap plastic one, and it leaked, dripped on the clothes (it takes a drip ages to dry, and often needs a hairdryer to sort out), and ran out of steam after 15 minutes. Trust me, do not scrimp on your steamer or iron. Get the best.
An army of mannequins. It took some work to get these things right. I purchased loads of polystyrene body forms on stands, cut out V-sections from the neck, and made arms by wrapping bubble wrap around a wire framework, then attaching them to the body form with duct tape and pins. They needed constant attention and repair, but allowed my stylists and me to maintain a constant flow of work to be shot. Whilst I was shooting and doing basic post-prod on a batch of 10 images, another 10 were being prepared to shoot so that I was ready to go as soon as I’d uploaded the last batch. The more you have, the better. If I’d had space for 50, that’s what I’d have done. Most of the big packshot studios are targeted at 40 items a day per photographer (and they have stylists/gophers/assistants/separate retouchers etc). I targeted myself for 200 items a day. Achievable by having 20 mannequins. Once the studio closed, there was no use for any of these so I made a huge pile and created a toxic fire that could be seen from space. I had no idea they were so poisonous honestly.
So, with all this stuff explained, how did we shoot the stuff. Here is the rough breakdown of the process:
Take delivery of the consignment.
unpack the boxes and separate garments into categories.
Remove all packaging, clips, pins, unfold and put on hangers on a clothes rail.
steam all fabric items to remove any creases.
remove labels and put in pockets/pin to labels out of sight.
Set up lights on the set, tether camera to mac.
Perform exposure and colour temperature test.
Get mannequins dressed with first batch of jackets.
Pin, de-lint, style each as required. Queue them up for shooting.
Shoot each jacket on the polystyrene mannequins.
Check on the Mac using Lightroom for critical focus and exposure.
Adjust exposure and tone. Add garment reference number.
Crop the frame, export as a jpeg to relevant folder.
Undress the mannequin, retain pins etc, reattach labels, hang on “finished” rail.
Start next batch, and repeat until completed.
Shirts and knitwear/midlayers to shoot next.
Dress a solid mannequin, lint roll, style as required. Ensure neck area is perfectly straight.
Shoot the front of the garment.
Turn garment inside out, put back on mannequin and shoot the inside neck area.
Put garment back on hanger in finished section.
Check images, adjust if necessary, export both front and neck image.
Repeat for all further garments.
Once finished, upload all images to retouching house for retouching and cutting out.
Get gear back to client.
Once the images are returned from retoucher, check each file, retouch out any imperfections, add RGB/CMYK profile & resize specifically for print and web.
Upload finished files to client server.
Repeat as necessary.
And that’s that. All good stuff, and good fun, but bloody hard work…. believe me.