Setting up a new studio


About two years ago I was forced to give up my small, but perfectly formed studio space in the East End of Newcastle, as the main client I was servicing had created their own studio adjacent to their admin headquarters. I used the place for shooting thousands of clothing product shots every year, and it had been running successfully for 3 years before it became untenable.
I’d started with a much smaller space to keep costs down, but as my workload increased, the need for greater storage and for room to maintain separate working areas within the room became urgent. Here is a bit of a heads-up as to what you’re going to have to do in order to make any space workable, and what you’re going to have to make provision for in relation to day to day expenses.
Unless you’re lucky enough to take over a dedicated shooting space occupied previously by another professional, you will need to prepare the room/s to the spec that you’ll need for your type of work. I dedicated myself to commercial clothing photography, so the place wasn’t open to the general public. This meant that I didn’t need any air-con, reception areas, comfy sofa’s etc. It was purely a utilitarian environment made to get the job done as quickly and efficiently as possible . The room was relatively small – about 700 sq ft, but it had a very high roof, with no heating or insulation. This meant that in winter, the water in the kettle had ice on the surface, condensation was a real problem, and my electricity bill leaped to almost £600 for the quarter due to the necessity of several industrial fan heaters having to be on all day.
Summer posed it’s own problems, with the sun beating down onto the corrugated steel roof, and radiating heat into the space below. Temperatures would reach ridiculous highs, and the oxygen seemed to get sucked out, so that you’d feel sick and faint at all times. Bear your environmental costs in mind before you take on too large a space.
I had a blank canvas to work with here. The unit had been occupied by a guy who printed T-shirts, and the floor had been left in a bally mess. First job was to strip and varnish the floor. I hired an industrial floor stripper, bought gallons of varnish, and got to work. The stripping took a full day, and the varnishing was completed the following morning. Tough work, but it improves the space massively. This wasn’t an essential job to be honest, but it’s nice to have a working space that is good to look at.
Paint next. This is the dreaded part of the process. It takes 3 coats of emulsion to cover bare plasterboard, and the walls were 20ft high in places. I had to buy a professional painters pole (now used for elevated shots), and various rollers, plus massive amounts of white trade emulsion. This job took 3 days of graft, but when finished, it transformed the room into a pristine space.
Telecoms was the following priority. I’d arranged for a landline to be fitted to the new space, and had broadband fitted at the same time. It wasn’t particularly fast due to being provided by an out of date BT exchange, but did the job – albeit at an extortionate BT Business cost. After several hassles, and mix-ups, I was up and running.
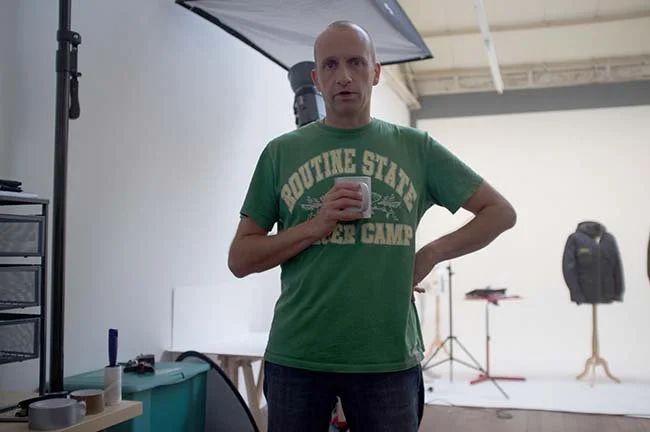
Moving-in day wasn’t too bad, as I was just transferring along the corridor. The amount of gear was daunting though – I had the obvious range of photographic and lighting kit, including about 12 flash heads, stands, a 200kg studio stand, lighting modifiers, paper rolls, clamps, clothes rails, 20 mannequins, steamers, irons, tables, etc etc. I had to go out and purchase wall hooks, shelving units, extra tables, a product table, mirrors, and all sorts of things from B&Q that would allow me to free up floor space by utilising the huge walls. The only luxury in the place was my Gaggia coffee machine – an essential bit of kit, which conked shortly after I moved in, to be replaced with an Illy Francis Francis Iperespresso pod machine for even quicker caffeine hits.
The next structure to be erected was the scoop at the back of the studio. I couldn’t afford a full on plastered job, so I improvised with huge sheets of thin mdf screwed to the wall and floor. This worked a treat. Two more of the big sheets were hung on the side wall, and could be painted any colour to provide backgrounds for specific product shots.
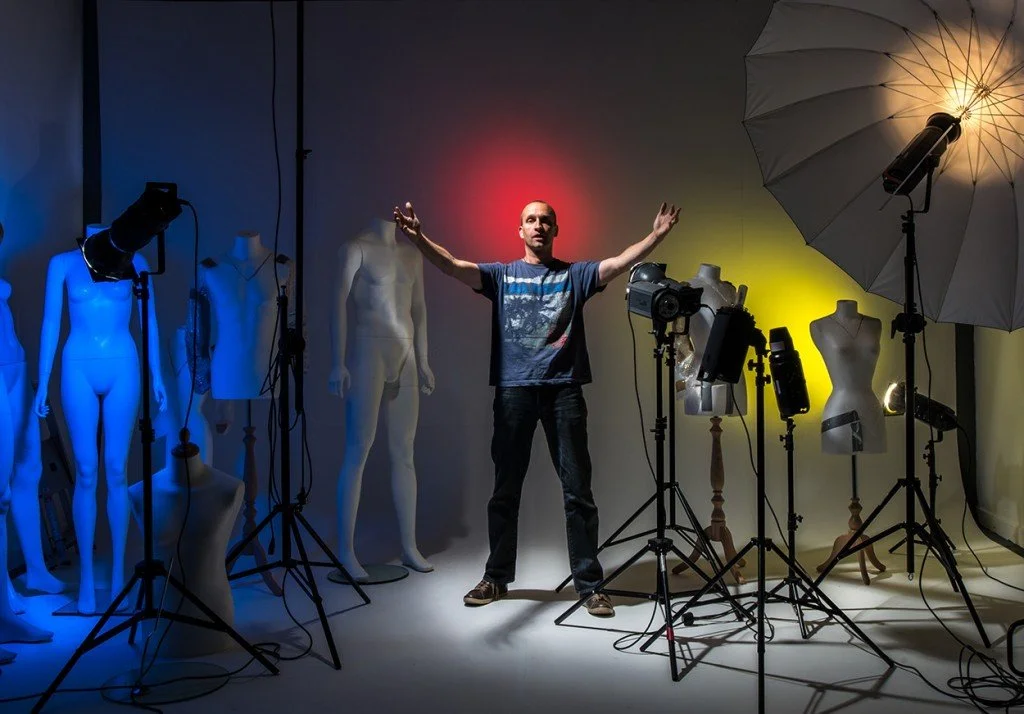
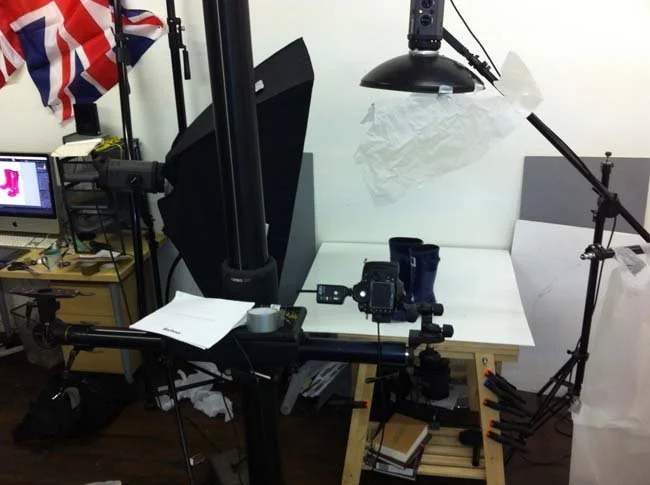
I finally set aside various areas for specific tasks – a product table with lights above, and space for diffused side-lighting, a dedicated area with all the styling equipment for my stylist to get stuck in, and the computer workspace with storage galore. The metal beams were used to hang lights from, and as extra storage for light coffin-bags, spare softboxes, paper rolls, and some of my stuff that couldn’t be stored at home.
Operations could finally begin!
Things quickly ramped up, and I established a routine that worked pretty much flawlessly. I would collect a van-load of gear to be shot, get it back to the studio, catalogue everything, sort it out into types of clothing, attach hangers, arrange the stock, then get my stylist in to assist in the prep and steaming of all garments. It would then be shot as quickly as possible, with the stylist dressing and undressing the mannequins speedily. After the whole batch was done, the stylist would go home to a nice tea, while I buckled down to another 6 hours of retouching and uploading to India for overnight clipping-path production. It wasn’t always that organised however.
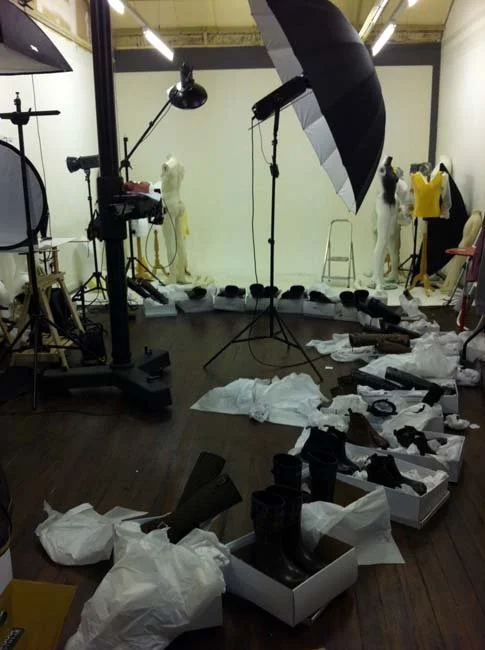
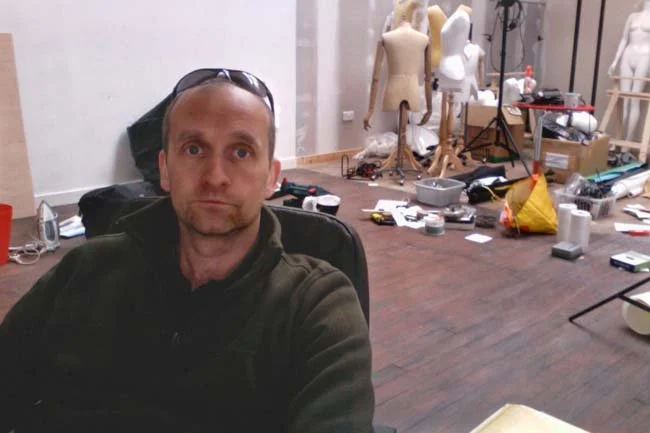
Many a time, I’d be ready to go out on a Friday night, and receive an email asking me to collect 200 pairs of shoes to shoot overnight (having already done a 14 hour shift). Here’s a few scenes of a typical November Saturday night with shoes and accessories laid out on the floor, ready for a nightshift stretching to five in the morning. Hurray.
Anyhow, those days are gone, and I now dedicate myself to shooting interiors and architecture. Be prepared for a sizeable amount of expense when starting up a studio space. No matter how you plan to begin on a shoestring, the cost mounts up, and if you’re not careful it can result in you needing to work way too much just to keep the space. Ensure you have a varied mix of clients so that you never get monopolised by one single customer, and market yourself when you’re on top – not when you’re less busy. Good luck, & peace my friends.