House of Colour
It’s not often that I encounter something new after 20-odd years doing this job, but turning up to a titchy bungalow in Shilbottle (made famous by that Stewart Lee routine some years ago), I was surprised to find something that I can turn into a bit of a tutorial - an entire house whose ceilings were painted with colour.
Most houses - the vast majority - have white, or just off-white, ceilings. This is what makes my job way easier, as I can bounce light from my Godox AD200’s up there, and it will reflect evenly throughout a room - making the flash exposure render the colours in that room look pretty true to life. Without flash at daylight colour temperature, the ambient light becomes the dominant source, and it can be mixed as hell - sunlight or cloudy daylight from a window, reflected green from grass outside, reflected colours from carpets or gaudy furniture, and the horrific orange from ceiling lights and table lamps. And don’t get me started on flourescent tubes which are naturally green to a camera sensor.
The flash gets rid of all this colour pollution - as long as the ceiling is white.
On occasions, I will shoot a big, period house with painted ceilings here and there. When this happens, I dig out a “shoot-through” white umbrella, place it high up, and shoot with this light source pointing downwards to give a white light source. This technique falls flat on its face when faced with a small room in a bungalow though. There just isn’t enough space.
So, how do you shoot a room with coloured ceilings when you can’t fit any light modifiers in there?
1 - Make the ceiling yourself. I have a range of reflectors in the boot of the car - white, black, opaque, silver, and gold. Each one is utilised differently. In this case I would position a white reflector above the flash unit so that it acts as a white ceiling - bouncing white light throughout the room. It doesn’t have to be huge, and when I’ve not had the reflectors handy in the past, I’ve used a newspaper or even a piece of A4 printer paper at a push. It works a treat.
2- Incorporate something in the room as a reflector. If there are white doors out of the frame, or even a white architrave or moulding, you can bounce light from these at a push.
3- Post Production Techniques. This is my least favourite method, but it can be used when you don’t have any other way of capturing colour accurately in-camera. I’ve been caught out a few times by pine-clad interiors, and my usual method of calming the colour without using a shoot-through brolly is to capture good ambient exposures, and then using those in the final edit. Alternatively, as a last resort, you can actually bounce the light off the coloured ceiling and then attempt to manipulate the raw files. Sometimes it works, but you need a bit of luck and a big powerful flash, as the colour soaks up light compared to a nice white surface.
So this bad boy:
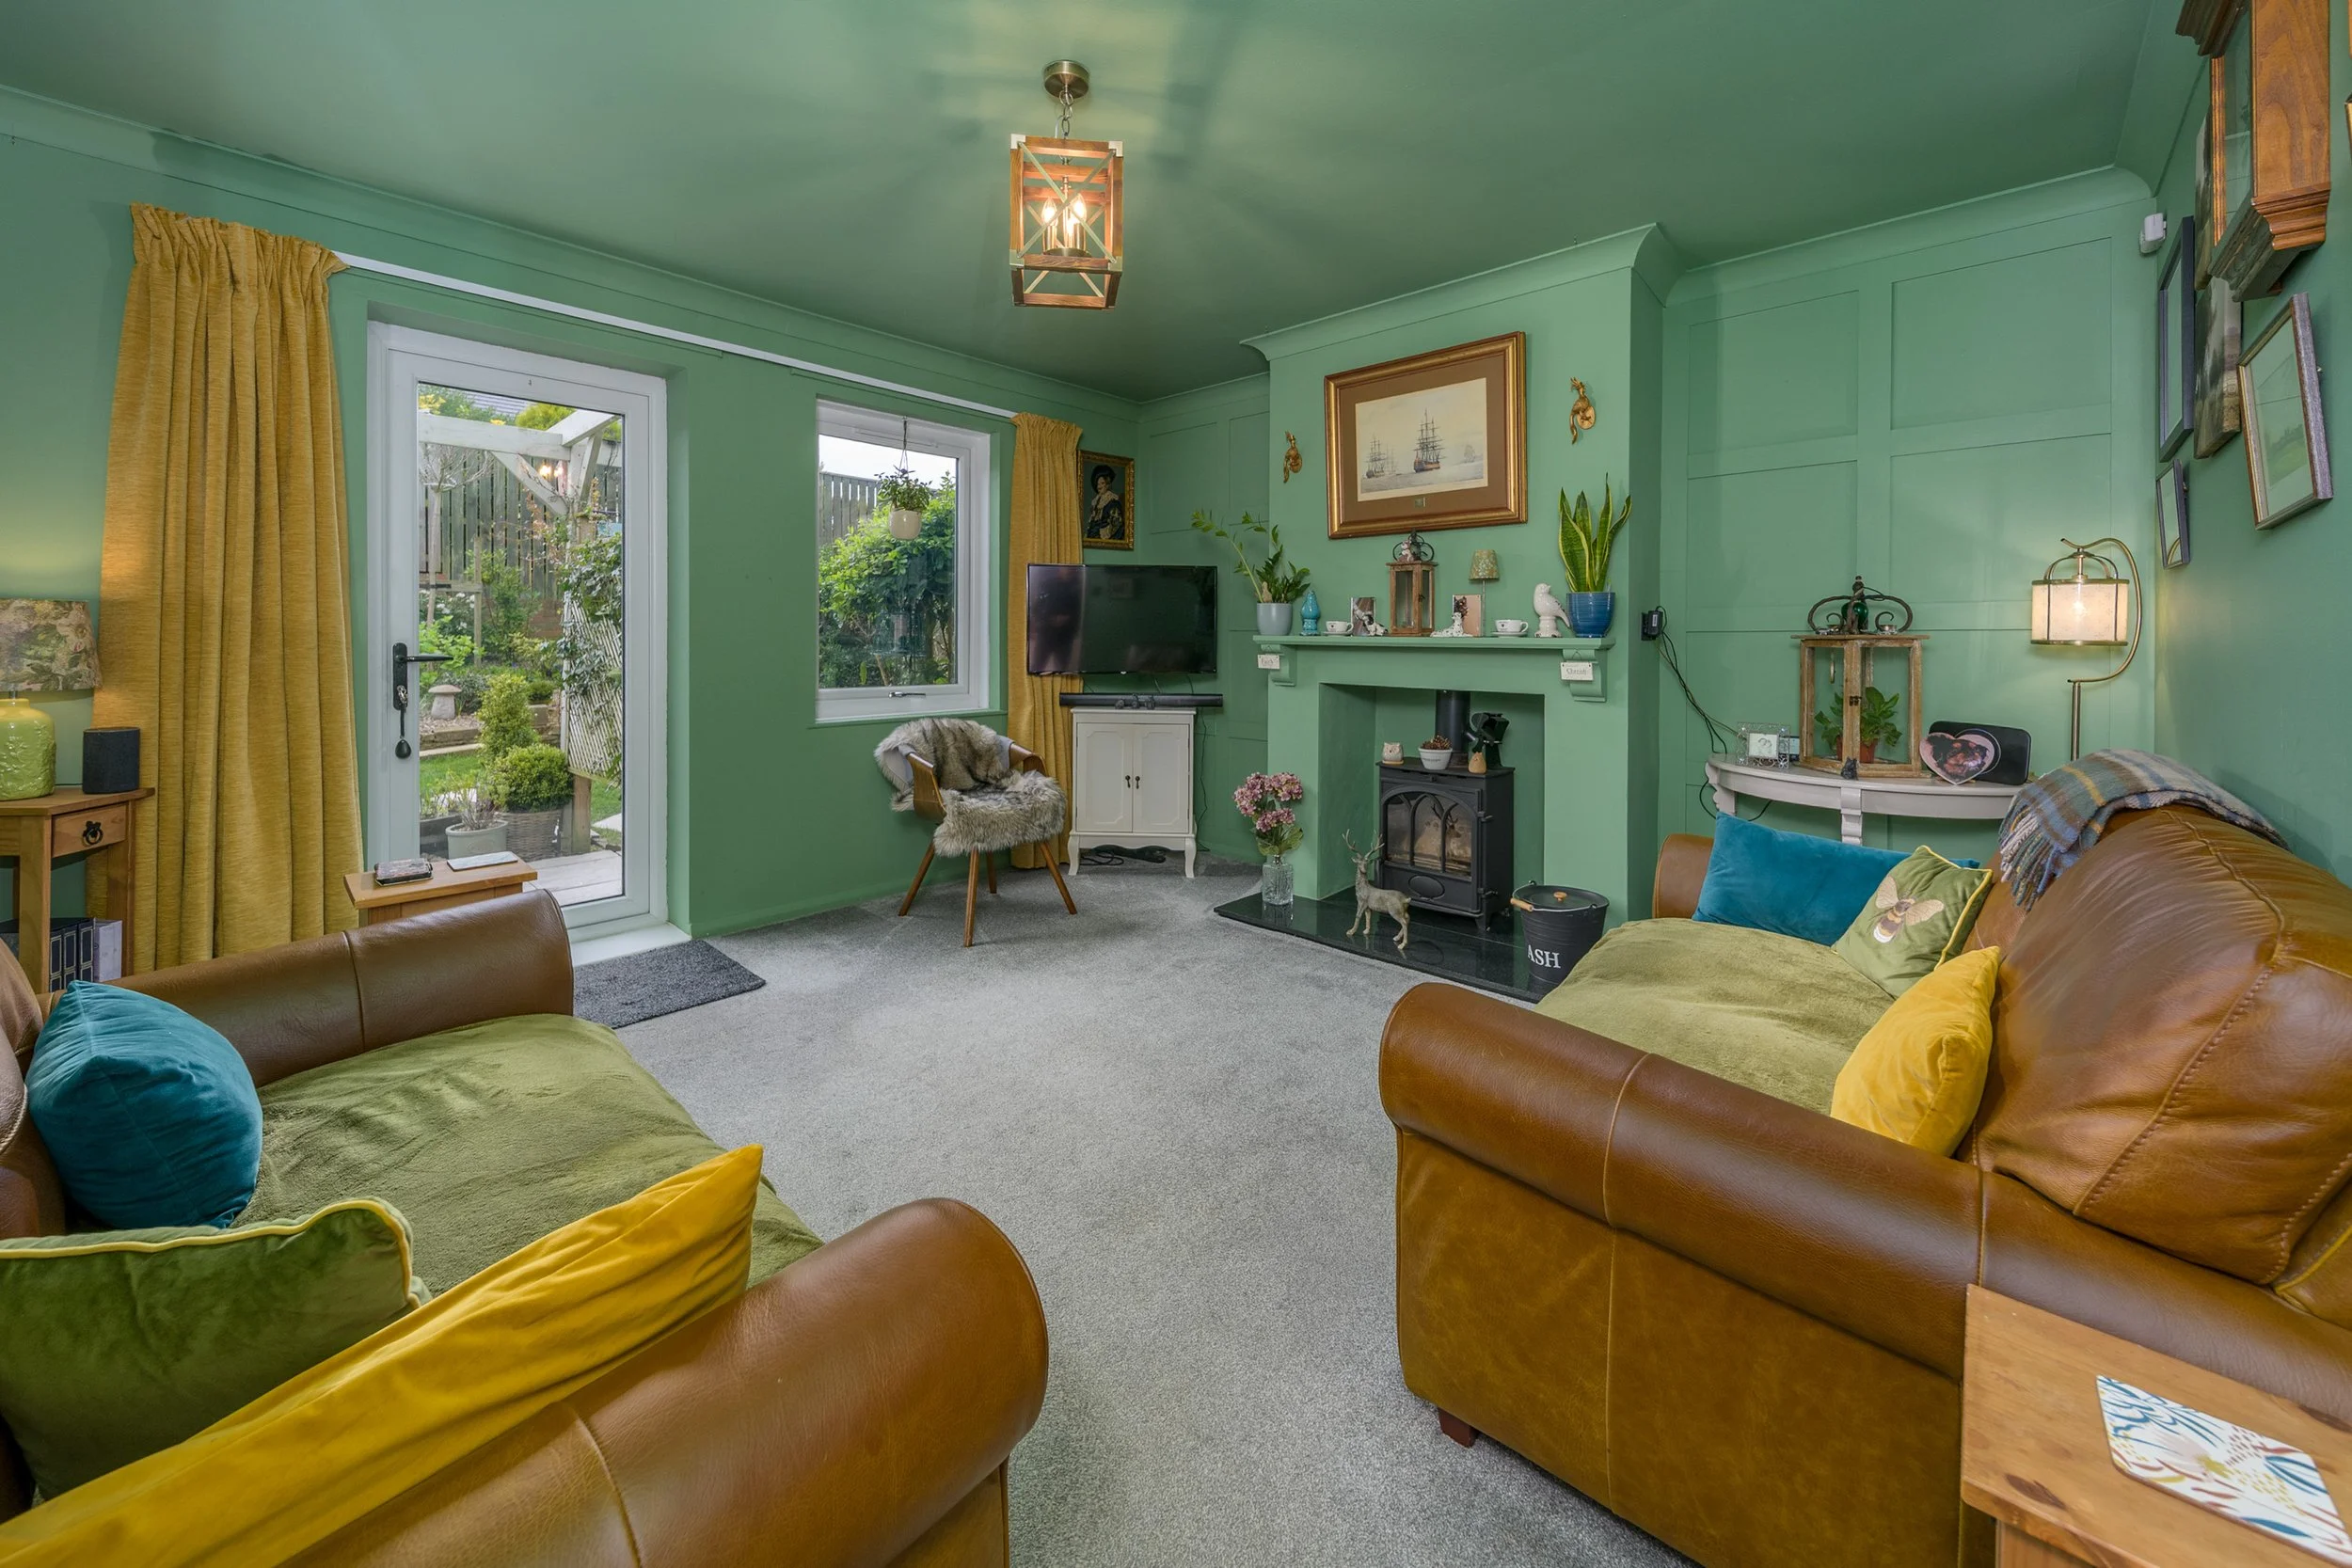
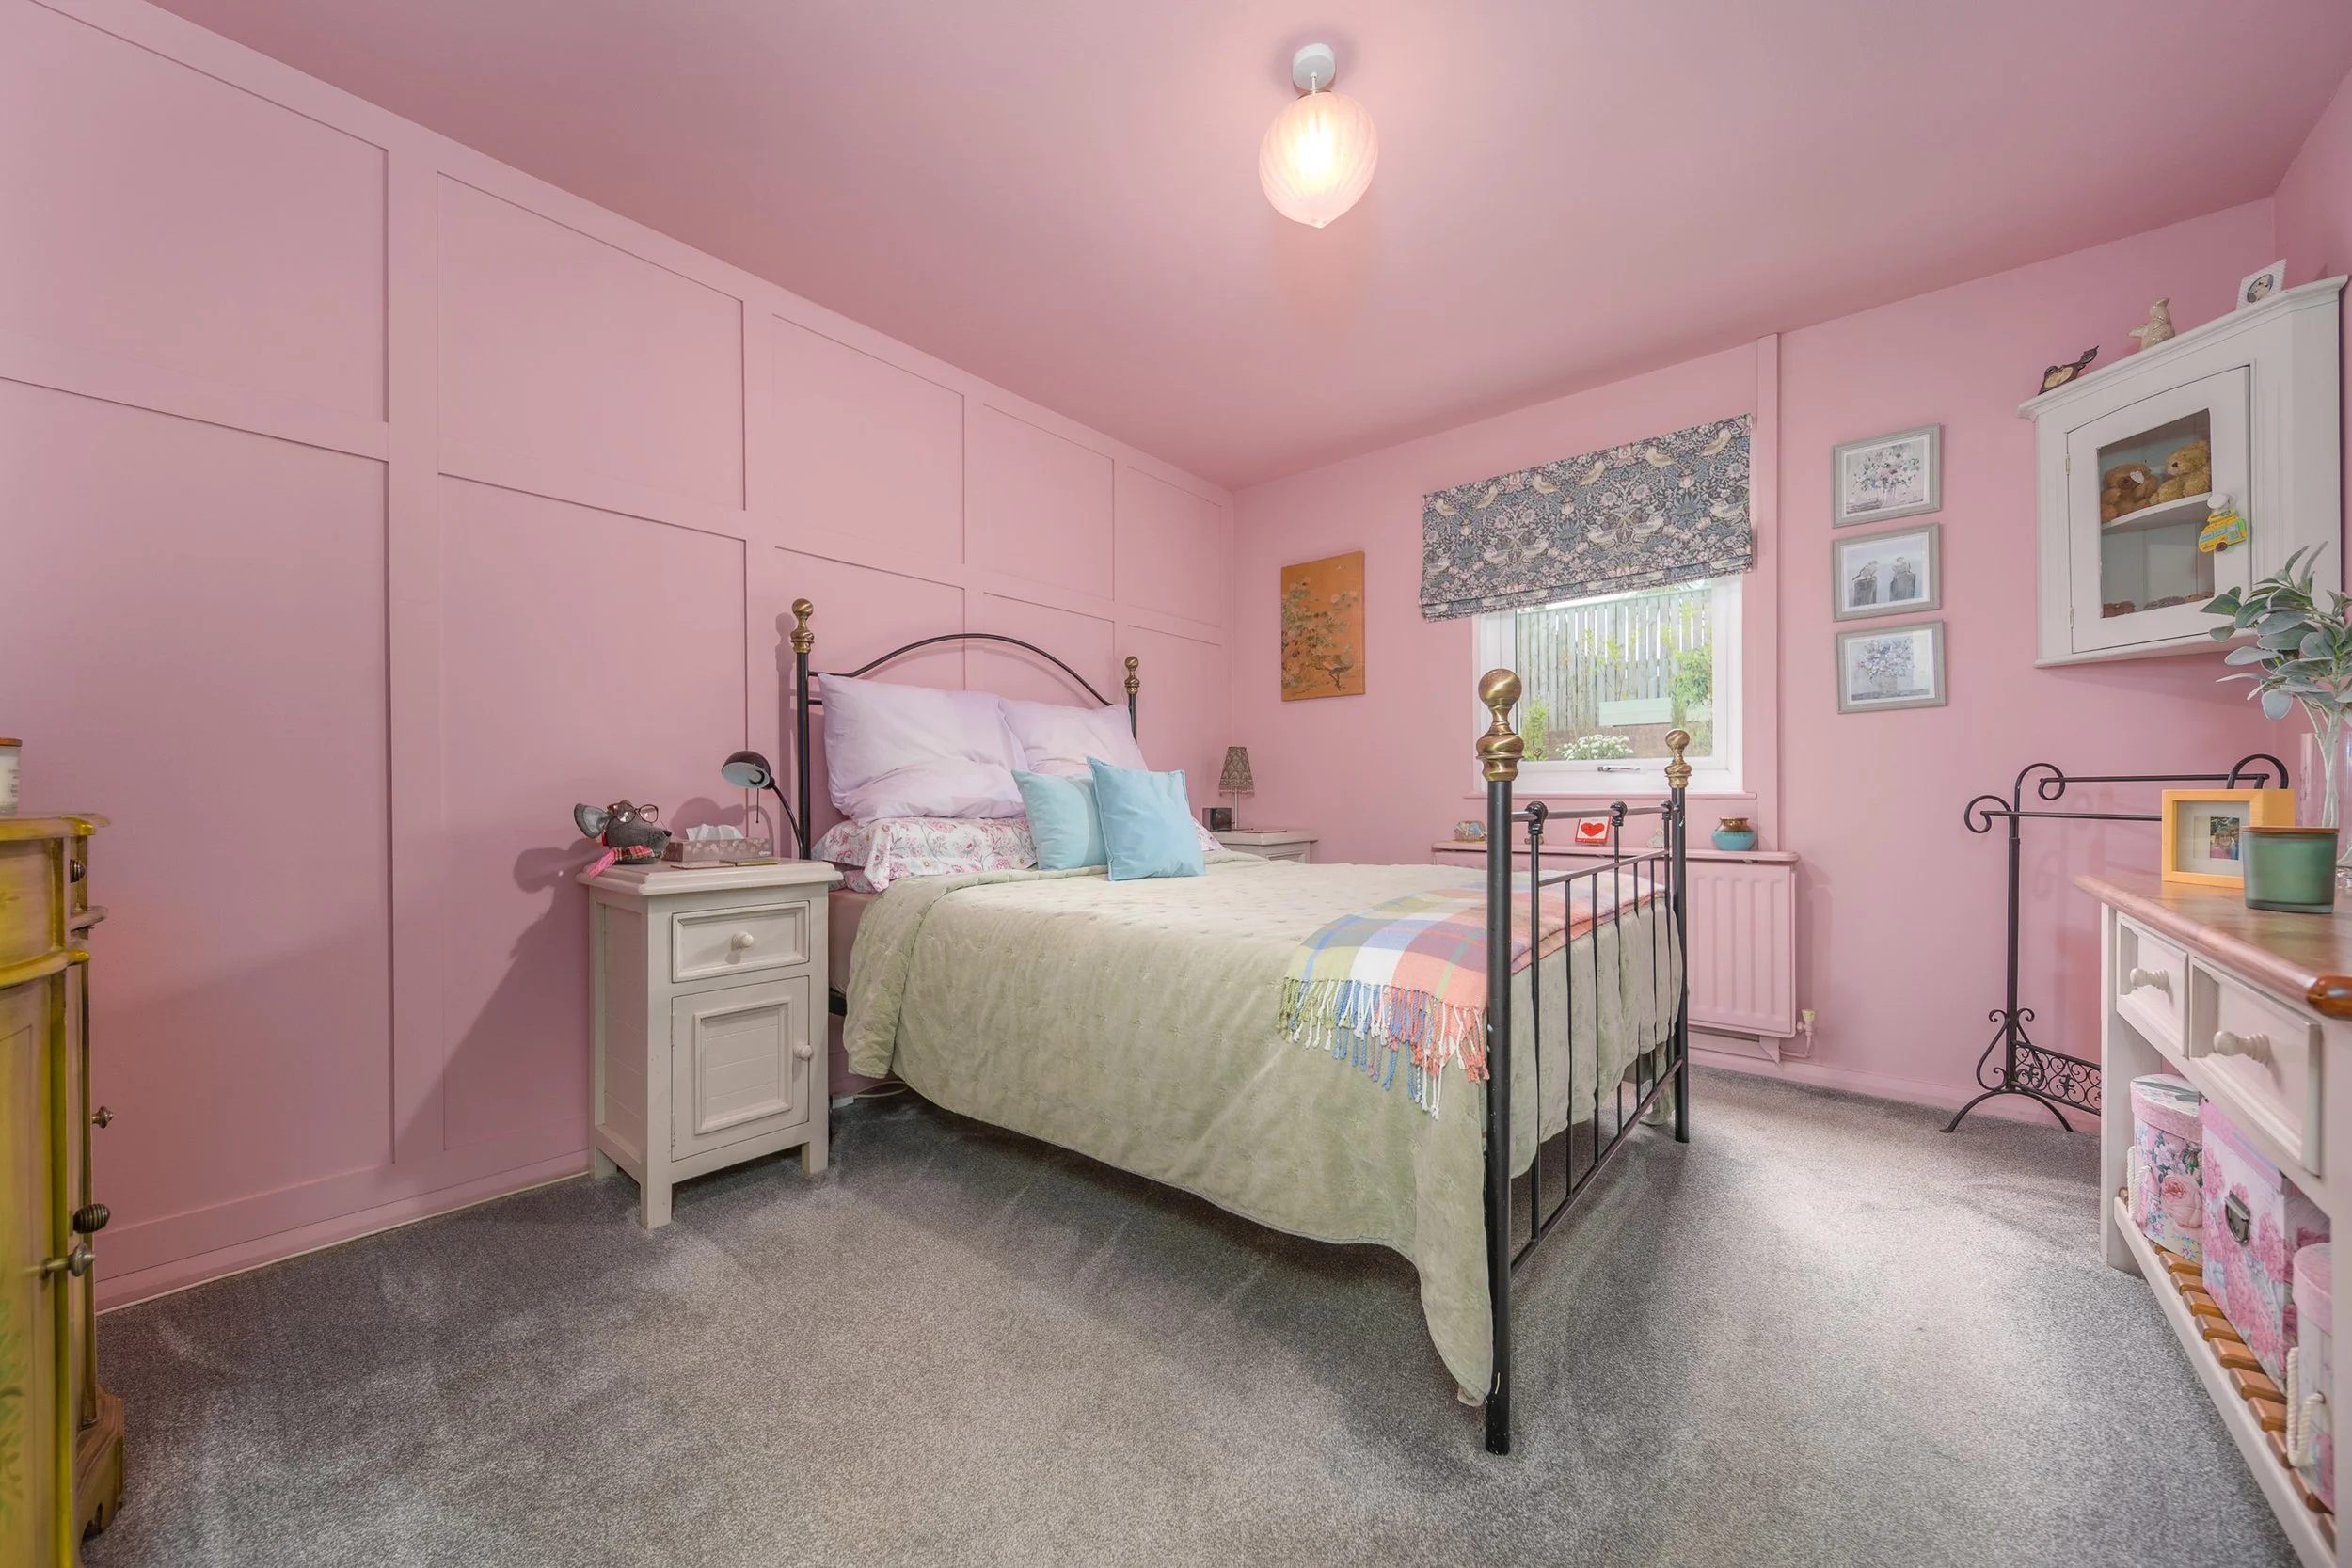
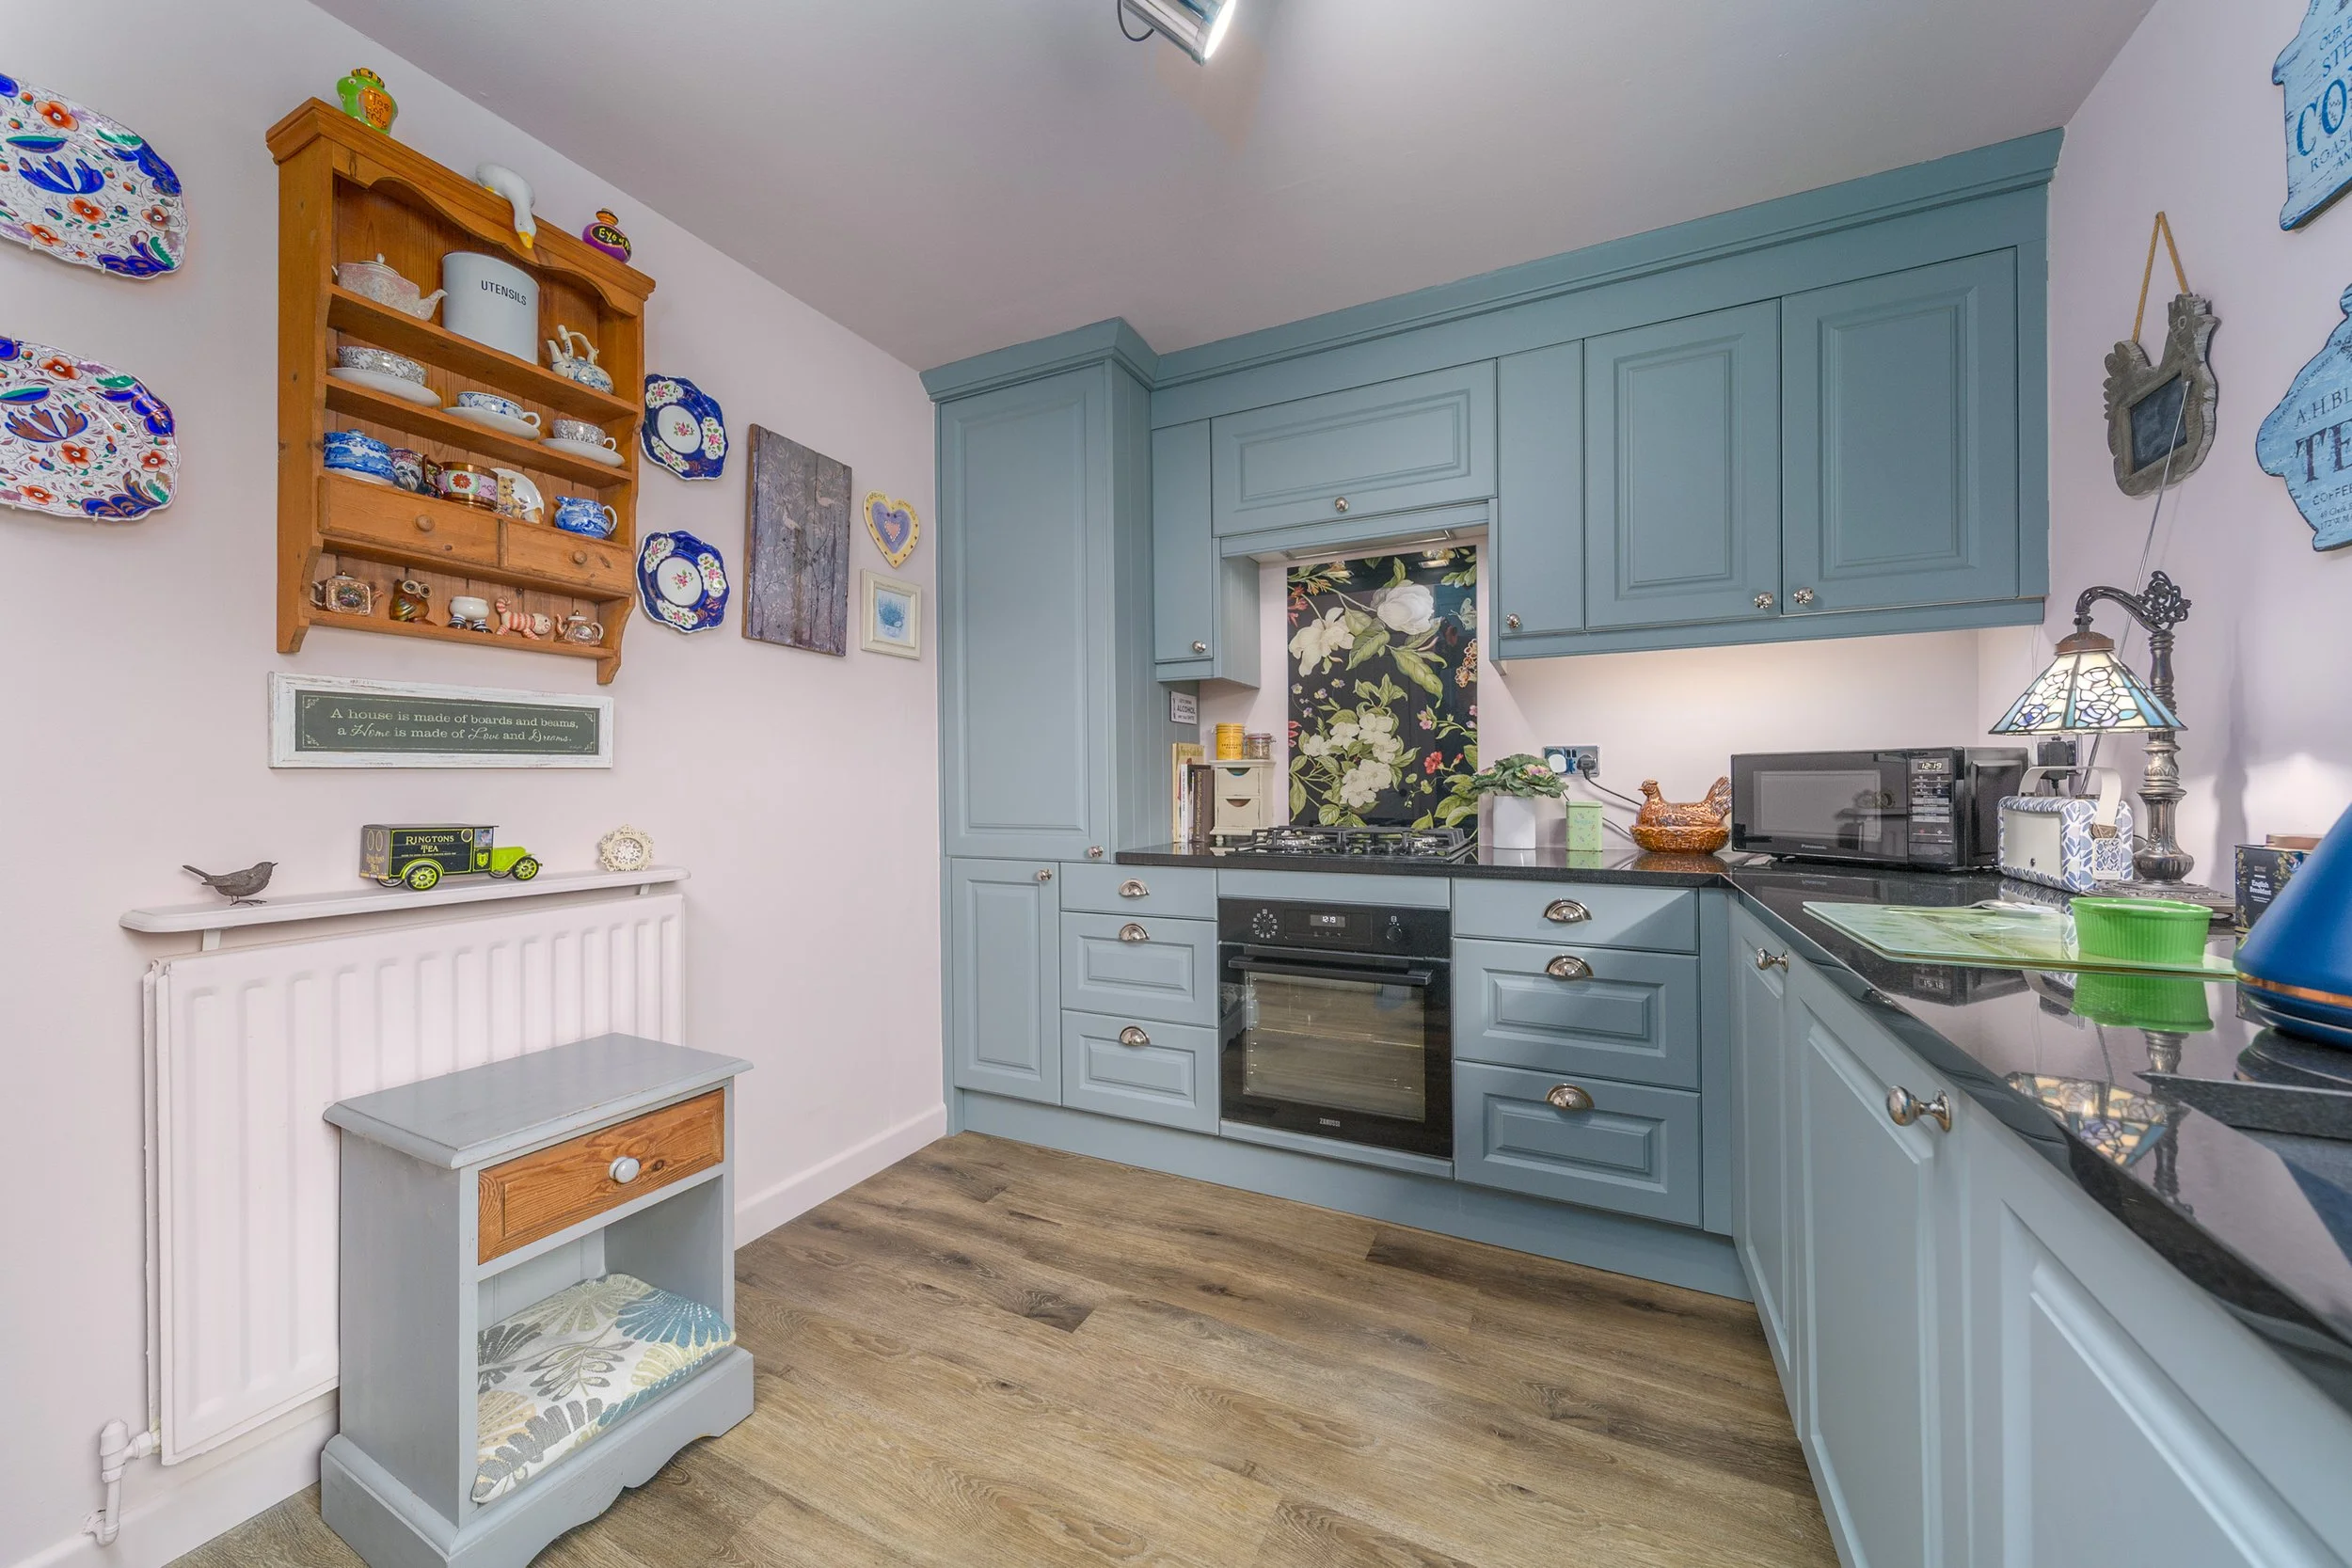
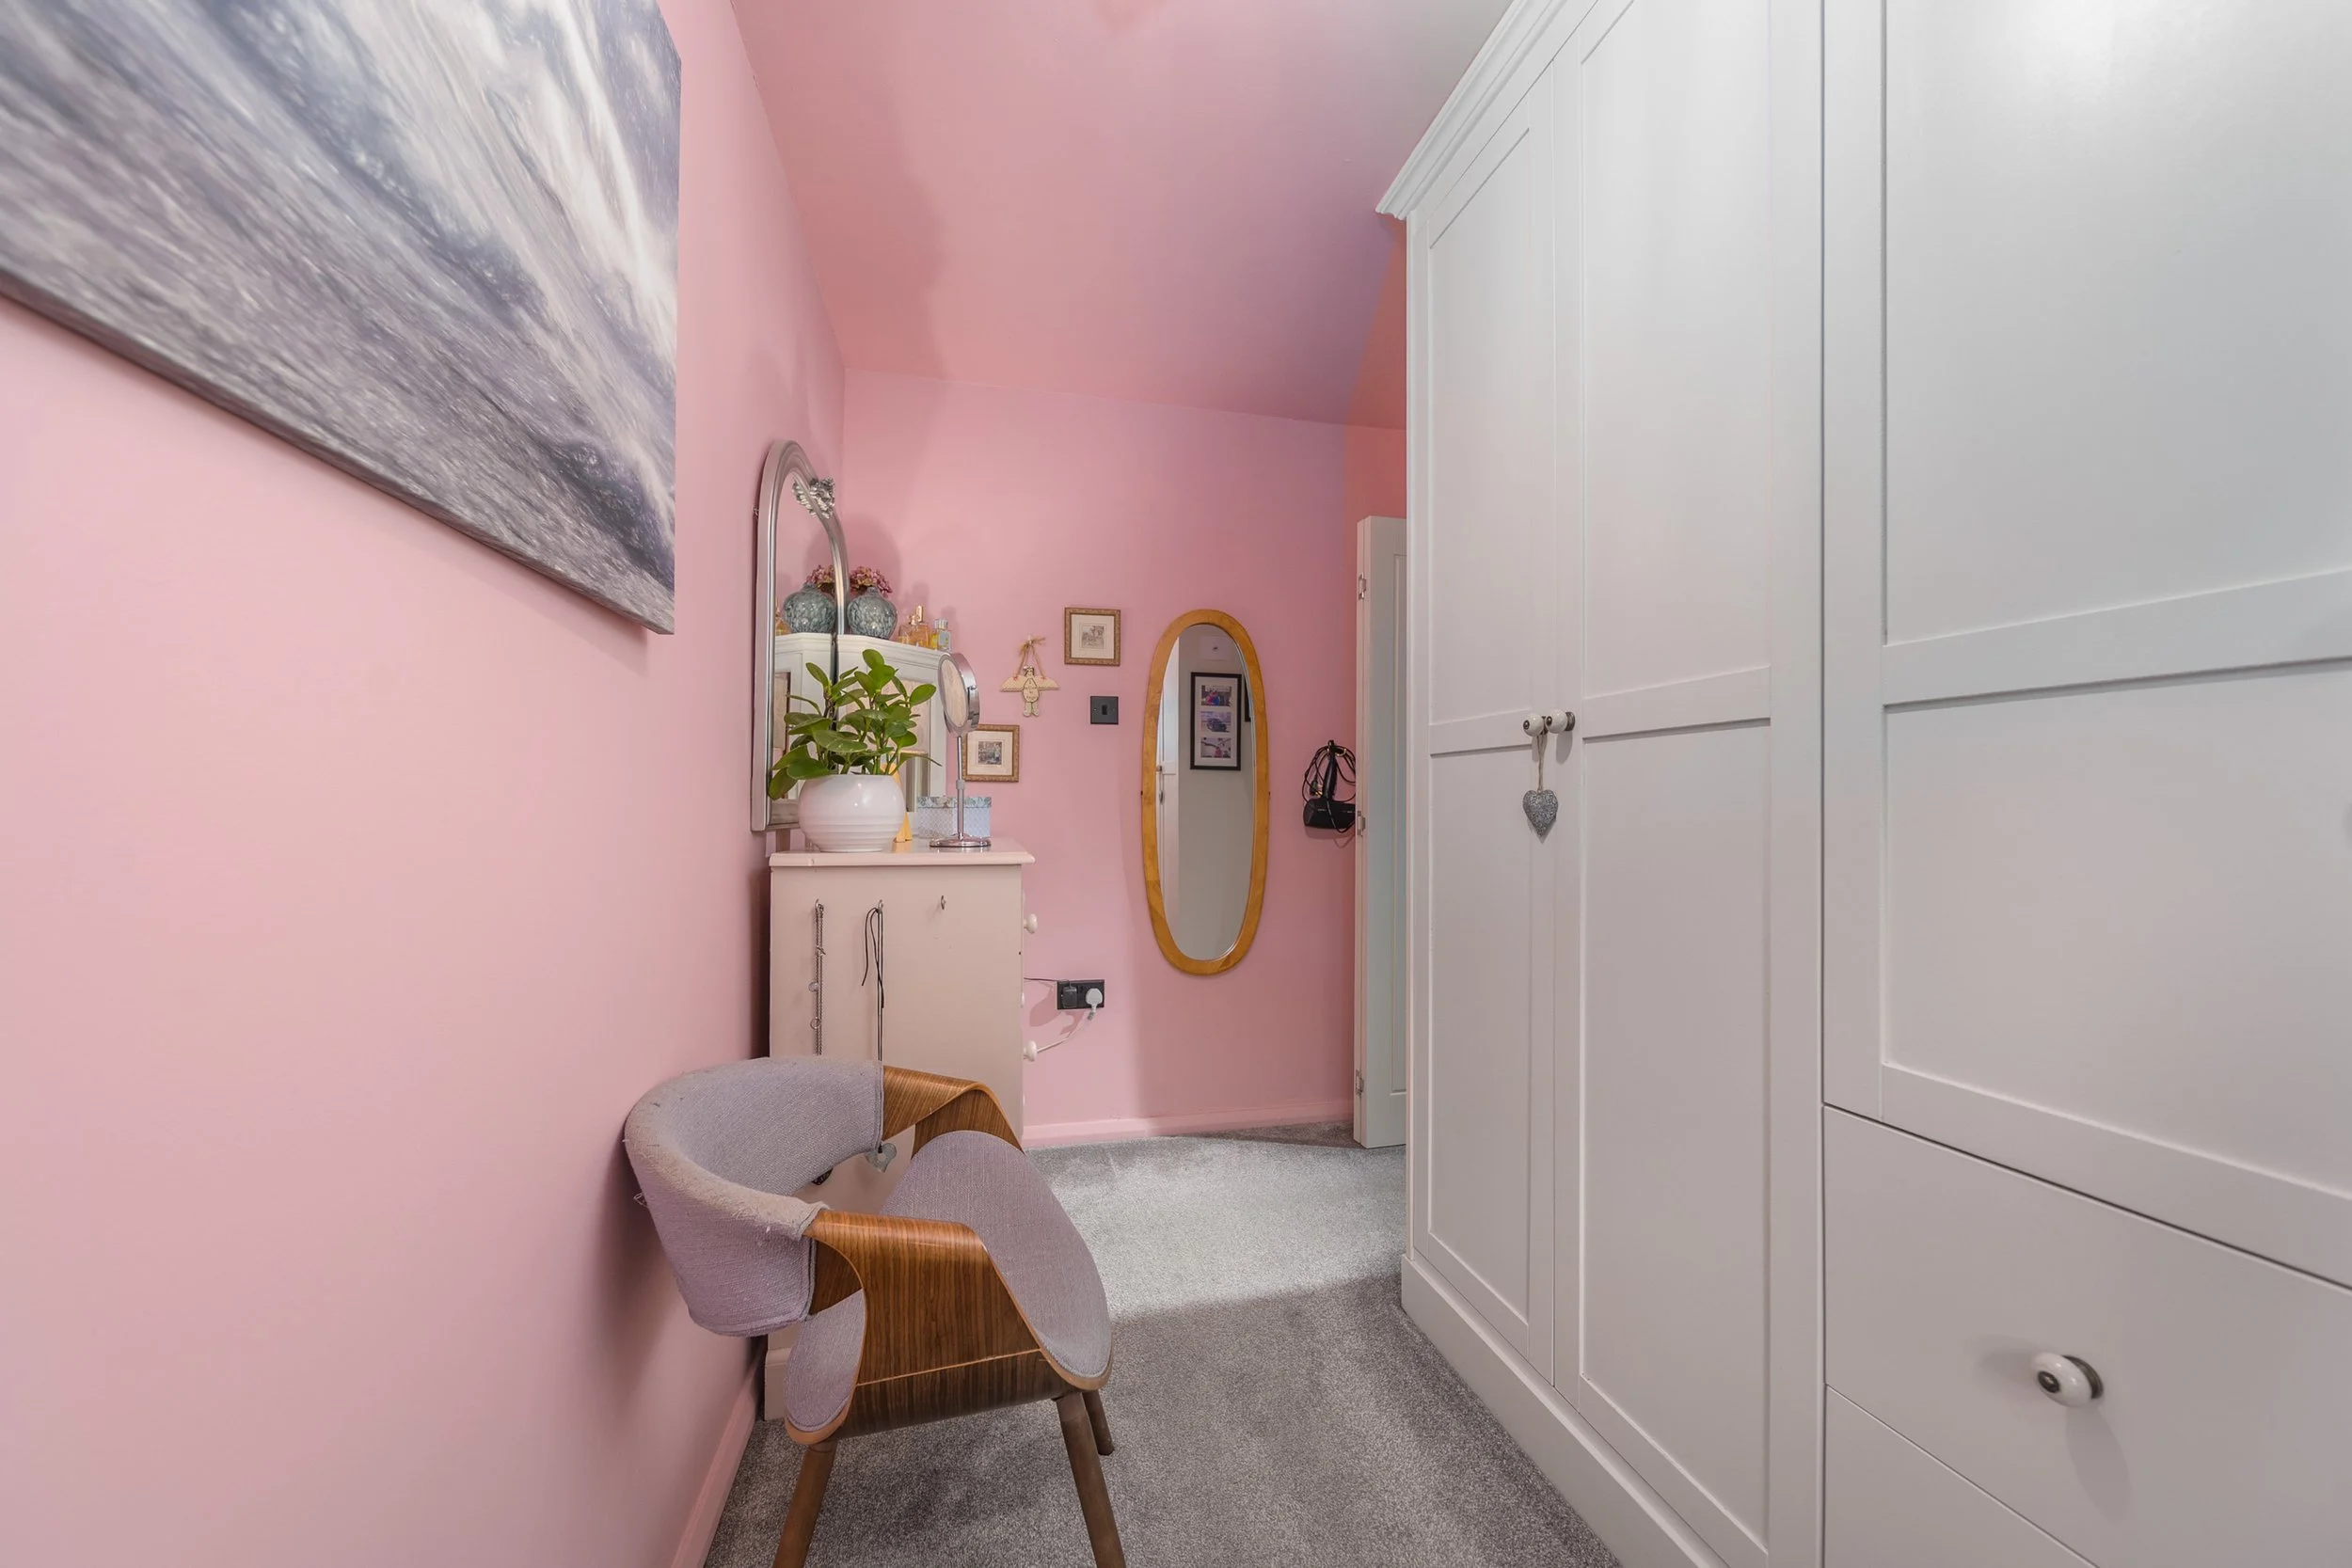
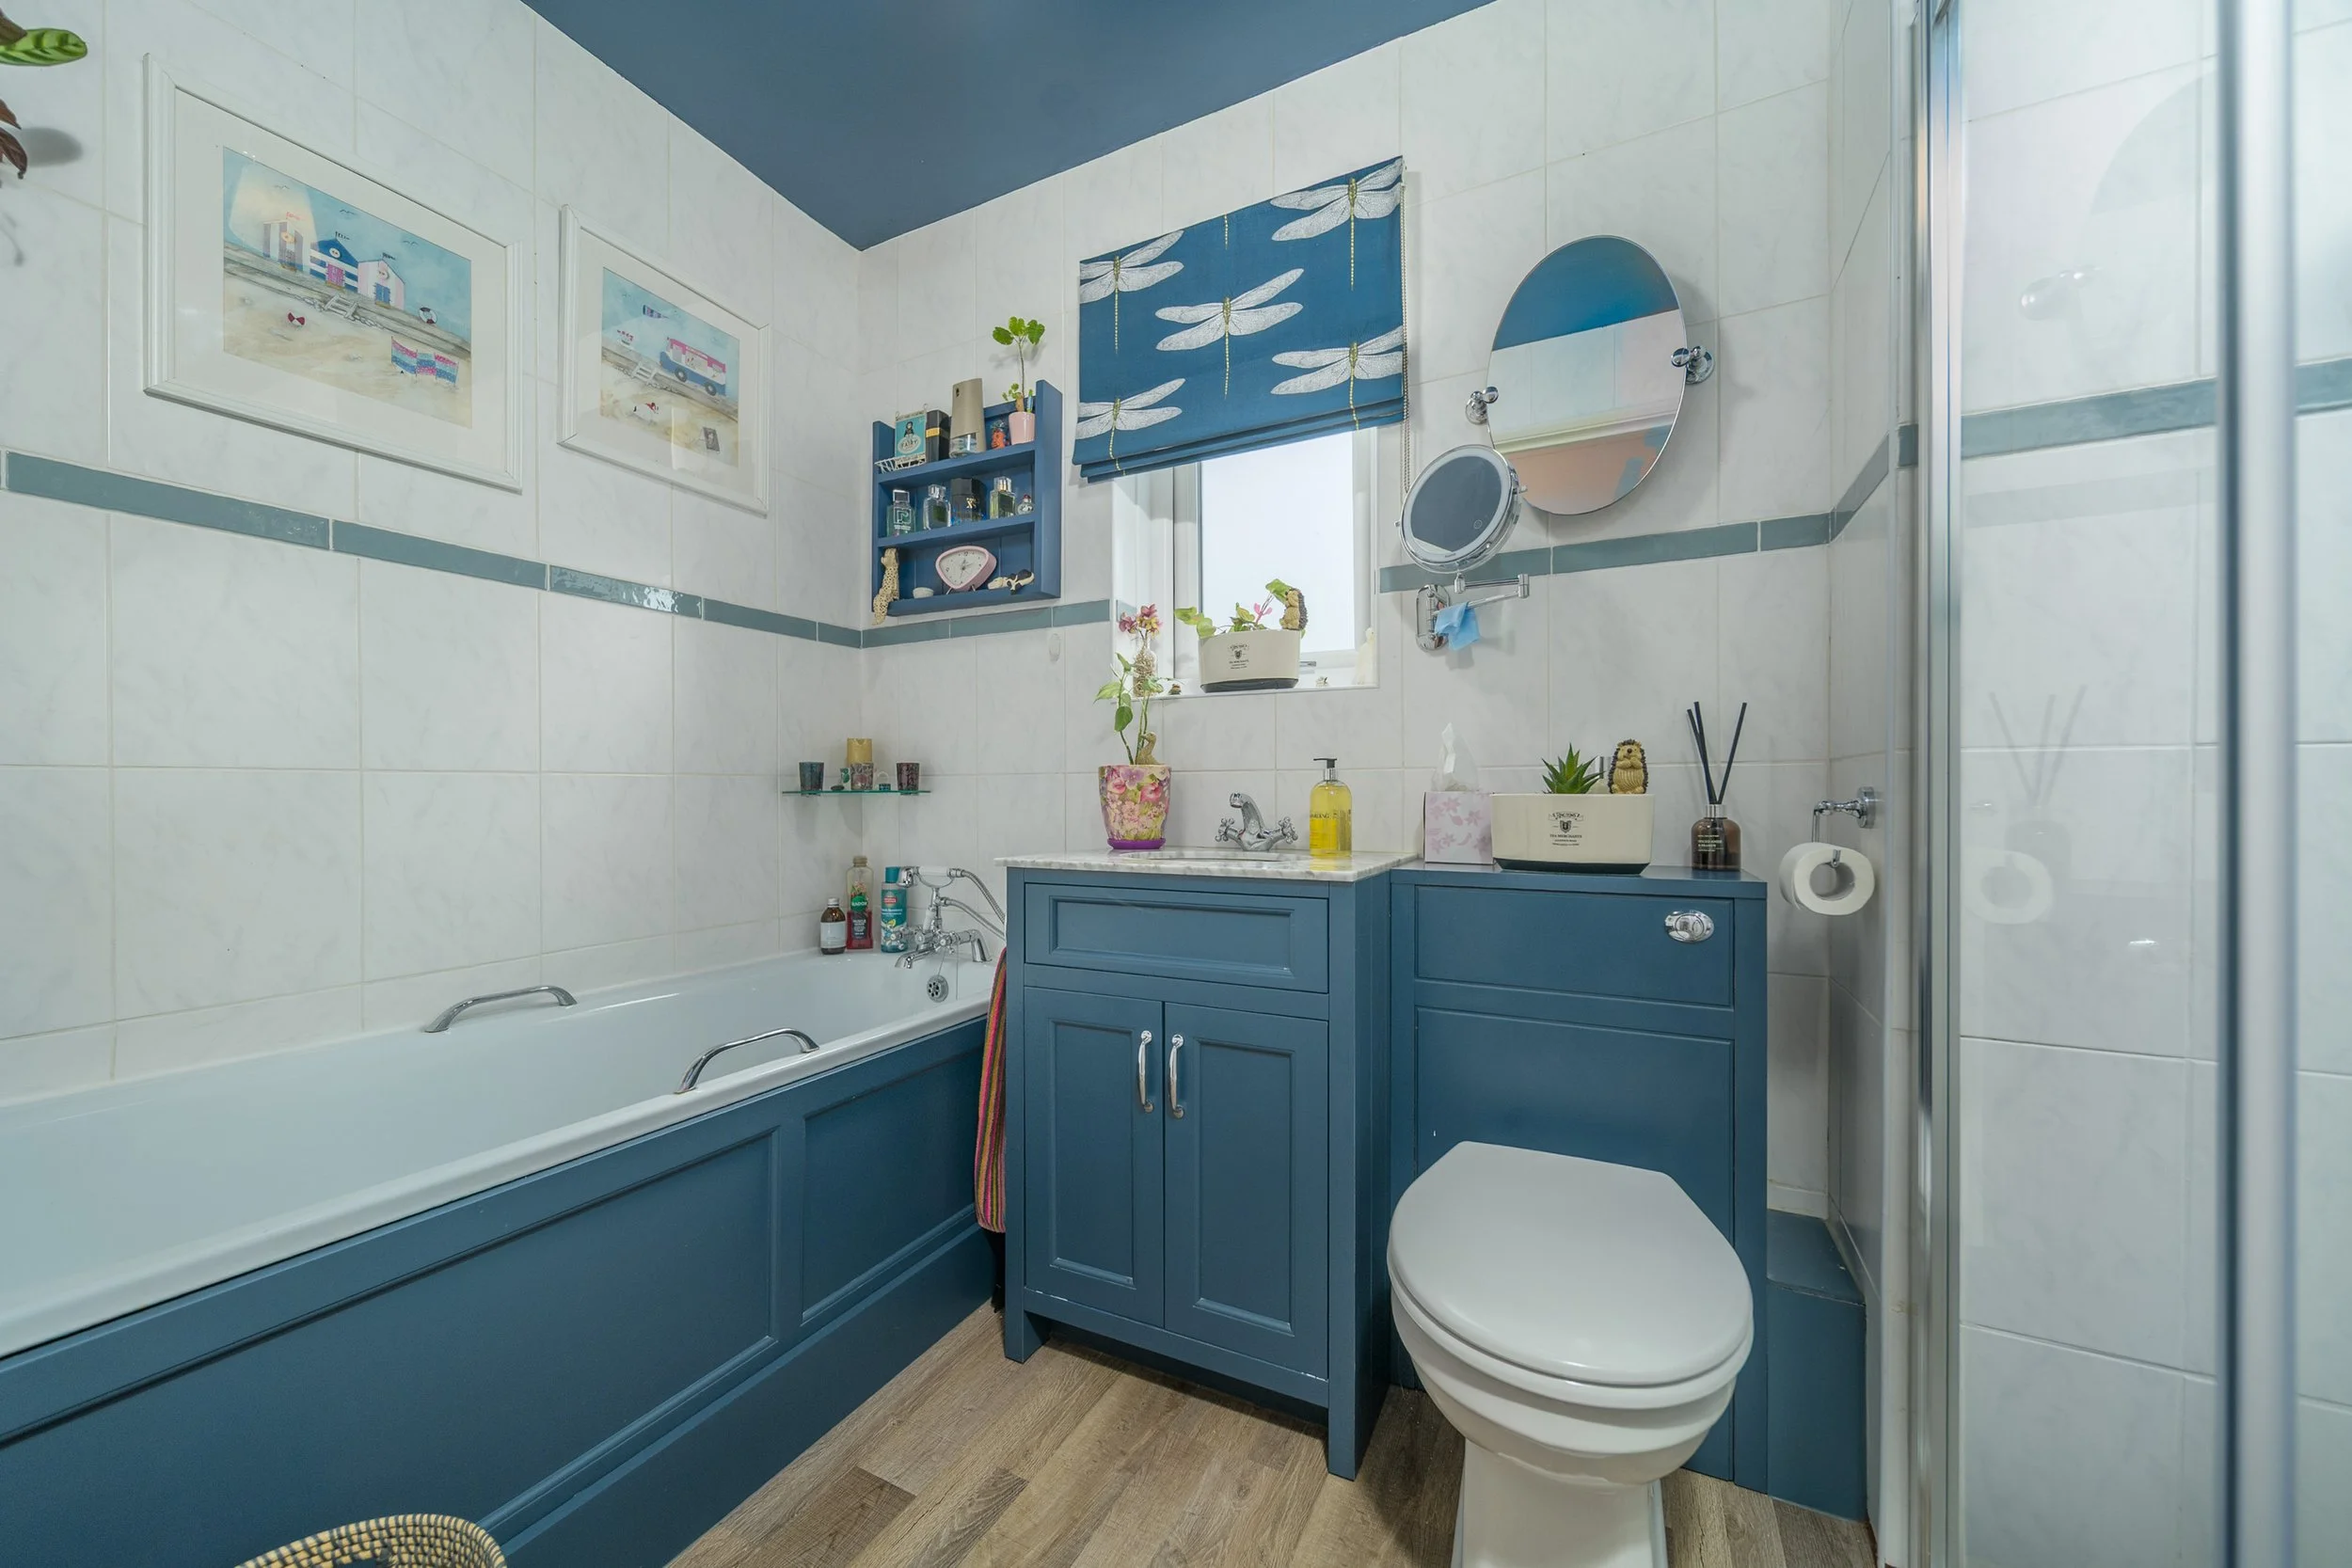
As you can see, each room had a strongly coloured ceiling. I used the method of bouncing light from white elements within the rooms - doors, cabinets etc. It all turned out fine with a bit of colour cast removal in Photoshop. The ambient light shots were used in “luminosity blending mode” to adjust the feel of the light. Using only the luminosity of a frame to adjust overall exposure means that the colours aren’t affected - just the range of tones from dark to light.
The social media video was full of horrific colour casts, but lighting interior videos for a 90 second Facebook shorts edit just isn’t commercially viable to be honest.
So there you have it - more secret techniques given away for free. That’s just the type of guy I am.