Simplification & Efficiencies
I've been freelancing in the photographic industry for 17 years now (Jeez), and I've been shooting posh real-estate almost exclusively for the past seven. In that time, my skills have developed to the point that I can approach any job with a confidence that nothing is impossible to capture in a short space of time using a very limited amount of decent quality equipment. When I first set out, some of the top-end properties I encountered seemed daunting to the point of impossibility - wooden vaulted atriums in almost total darkness, 60ft long kitchens with blasting sunlight at one end, but nothing at the other end, cinema rooms with black walls, Victorian pads with bright yellow ceilings, and a myriad of other challenges which would completely overwhelm the efforts of an amateur with a compact camera or phone. The objective is to produce a comprehensive selection of images which are wide enough to show the various rooms without distortion, well exposed, sharp, colour accurate, nicely composed, and within the specified budget of the client. Unfortunately, the budgets of estate agents are generally around 20% of clients in other sectors requiring similar shoot-times, equipment and skillset, so maintaining the tightest workflow possible and increasing volume is absolutely essential to avoid hitting poverty rates of income.
My workflow is an evolutionary process, and as time's gone by I've developed time-saving strategies and shortcuts to speed up everything. Here's a bit of an insight into my current workflow:
Equipment:
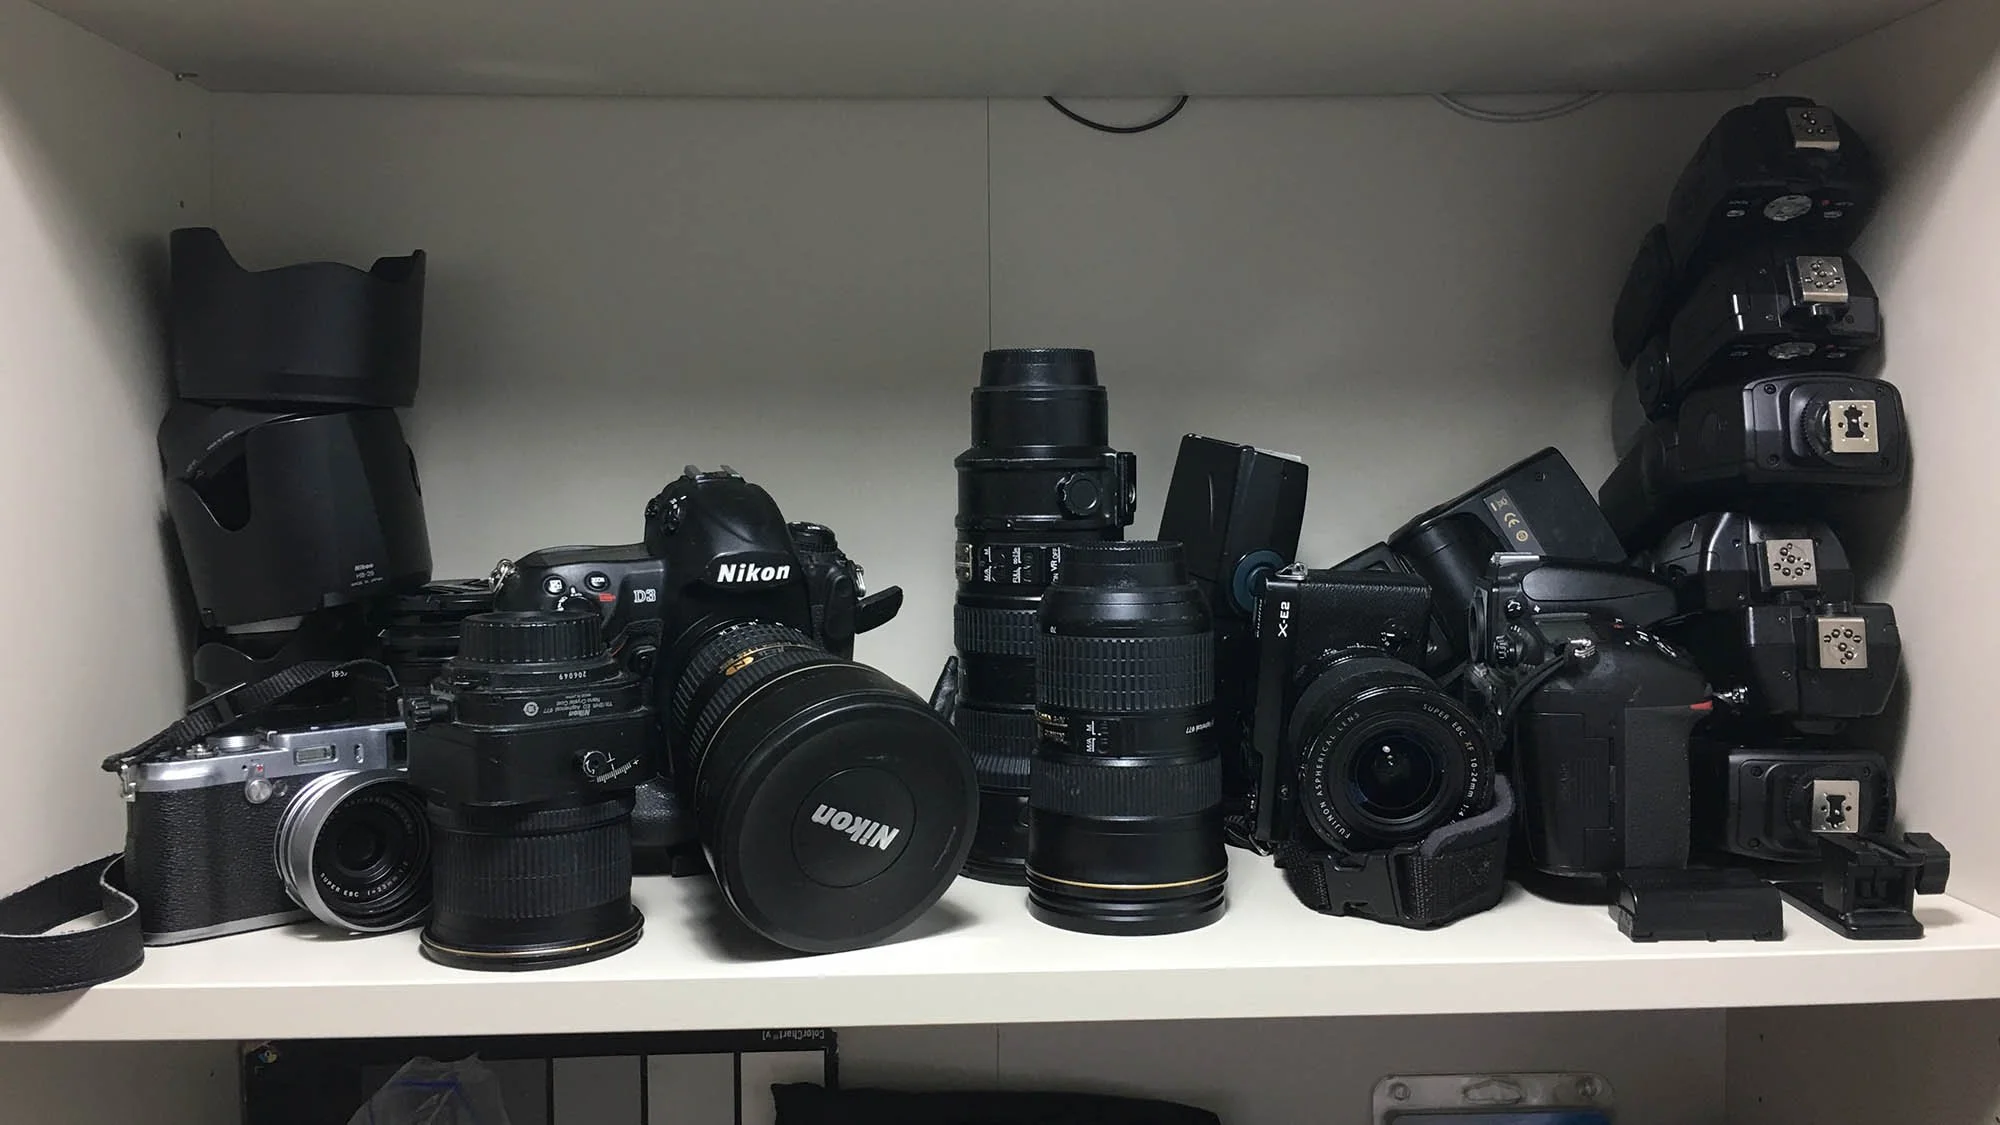
Keeping it as light as possible is key here. I do use a very heavy Nikon pro camera - (an old D4) as my main tool, as it needs to just work all day, every day without fail. It's a 16 megapixel thing, and everything is set to totally manual. I really only need a 6 megapixel camera, but this allows me to crop in a bit if things look too wide. My go-to lens is the Laowa 15mm shift-lens, which is permanently affixed. This is a metal, totally manual lens which needs some experience and discipline to operate properly. I used to carry about 6 flashes, but now I'm at 2 Godox AD200's and one light stand which give me enough power for anything really. If I do need more power, I just up the iso on the camera to add extra stops. My tripod is a carbon-fibre Manfrotto with a geared head (that I hate), and a Camranger 2 wifi camera controller hangs to the side - controlled by my iPad Pro enclosed in a cushioned case and hand strap. I can get set up in a couple of minutes upon arriving in a house. My small drone, light modifiers, and spare batteries etc can wait in the boot recess of the car unless needed.
Planning:
I rarely get a description of the house I'm shooting, despite asking for it, so when I take the appointment, I always try and do a bit of research in order to determine it's location, allocate enough time, ascertain the orientation of the property with regards to sun direction, and get an idea about the size and layout of rooms. Google Maps can help provide location and exterior appearance, and then Rightmove/Zoopla etc often contain previous sale-listings and floor plans for the property. Just getting a feel for where I'm going, and prepping for any unusual features such as gardens with steep inclines can save loads of time. When I arrive, I usually have a very swift walkthrough, just to make a rough shoot-plan in my head, and to get the vendor to maybe prepare certain rooms or remove any junk so I don't have to. Involving the owner can often save about an hour which would otherwise burden me with having to take clothes from the backs of doors, removing toiletries, cleaning surfaces etc. I have sometimes literally had to spend 30 minutes emptying 10-20 boxes from a room and putting them back for a 2 minute shot. That's madness. My general rule is to visualise two shots per room showing key features - or three for huge rooms, and one for small rooms. Exteriors are shot from various angles.
Shooting:
My aim is to compose, and expose in 2 minutes or less per shot. That's not always possible in larger rooms with complex lighting requirements, but in a shoot-ready home it's easy to do. Firstly, I set the camera and key flash up in the desired positions, and open the lens aperture up. I then switch all the interior lights on, (unless it's darker outside than inside). I quickly check the focus using the iPad, and stop the lens down to f8. I estimate the ambient interior exposure (usually 1/4 sec at iso 320), shoot a frame using the natural light, and quickly check this on screen. The flash trigger is switched on - usually at half power bounced from a white ceiling behind the camera, shutter speed changed to something that will eliminate colour casts in the room (1/80th sec), and then fire another frame. In a normal sized room, these two exposures are all I need for a final composited image, but I might have to light other rooms, other parts of a large room, or add effect lights such as fake-sunshine etc in order to create all the parts of a composited final product. I make a conscious effort to never shoot more than 7 frames per view (that'll be explained in my post-prod section). For a 30 frame interior, my aim is an hour's worth of shooting.
The pathetic weather is obviously a barrier to any outdoor activity in the UK, and my job is no exception. Everybody demands perfect, sunny weather for their beloved exterior shots, so repeat visits to various locations at my own expense, and in my own time would quickly take up 30 hours a week of unpaid labour every week if I gave in to everyone's demands. This means that I have to try and shoot what's there with a view to creating a sunnier version afterwards. Drone shots are done in certain circumstances - rural properties with a view, mansions, and any structures positioned at the top of a hill.
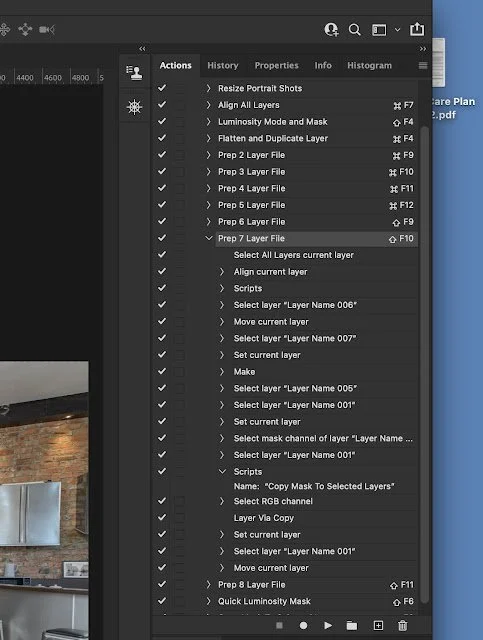
Post Production (Warning....nerd alert ahead):
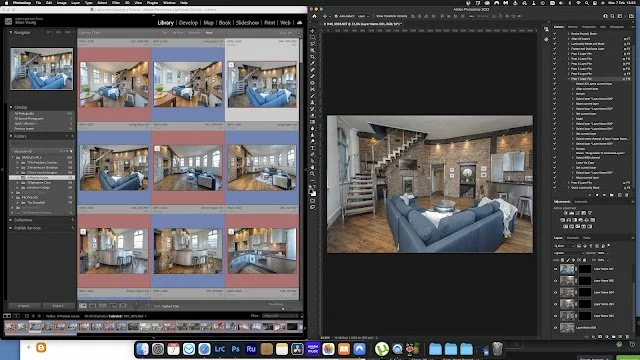
All raw images on memory cards are transferred to my high-spec work iMac as soon as I get in - being put into named folders. These are imported into Adobe Lightroom using specific import presets which lift the shadows, reduce the highlights, and correct any distortion. I quickly tag all the frames I'm going to utilise, and check the frames for any tweaks I need to make in terms of exposure. I then group the various frames of each view together. Each group of frames is exported into Adobe Photoshop as a stack of layers, then my automated script renames & reorders the layers, changes blending modes, and creates masks so I can mix the flash exposures and natural light exposure to something that matches my style. Before I developed these scripts and actions, each completed image could take 7 or 8 minutes to process. That's down to less than a minute now. Each completed image is then saved back into Lightroom as a high definition TIF file, a final output preset is applied to add some oomph, and then I do some manual cropping, straightening, and tweaking if need be. Once all images have been finished, they're exported as jpegs into a pictures folder.
At this point I may need to add fake skies to exterior shots, or retouch things (blur family photos as requested or blank out vehicle registration plates, remove unsightly reflections etc. My objective is to spend no longer in post-prod than the length of the shoot itself. It usually works.
Output:
This used to be a royal pain in the backside - resulting in 2am bedtimes as I waited for files to be copied to hard drives, and clients at 1Mbs or less. Two innovations revolutionised my workflow and freed my evenings up - Hazel, and Gigabit broadband. Hazel is a bit of Mac software that simply keeps an eye on specified files and folders, then carries out certain tasks automatically using rules that you set. For my workflow, I simply drag my completed image folder to an icon, and the following happens without having to do anything else:
All images are converted & renamed to print and web sized files as specified by each client.
The files are automatically backed up to specific storage spaces on an external hard drive.
The files are automatically uploaded to a specified Dropbox location, & my Google Drive backup.
Emails are sent to the client to advise them that their images are there.
Images are deleted from my Mac having been backed up in 3 separate locations.
I now have the total boon of a synchronous (same up/down) 300Mbs internet connection that gets the uploading job done in a minute or two rather than several hours. Absolutely vital for what I do, and it's allowed me to convert to cloud storage rather than having to rely on clunky and expensive multiple hard drives.
I keep my raw files (digital negatives) for a month, then get rid of them unless they're part of a job in the higher-end category that may need to be amended in the future. I've never had to redo finished files from scratch for real estate clients, and storing hundreds of terabytes using cloud computing would run into thousands per year.
So...that's about that. Running an efficient freelance operation at low cost is a challenge, and there are certainly easier ways to make a meagre living (pretty much any job actually), but keeping every day different, having a job that sets you apart from the 9-5 crew, and never being bored at work vastly outweighs the lack of financial compensation as far as I'm concerned.
Have fun writing that intra-departmental TPS report.